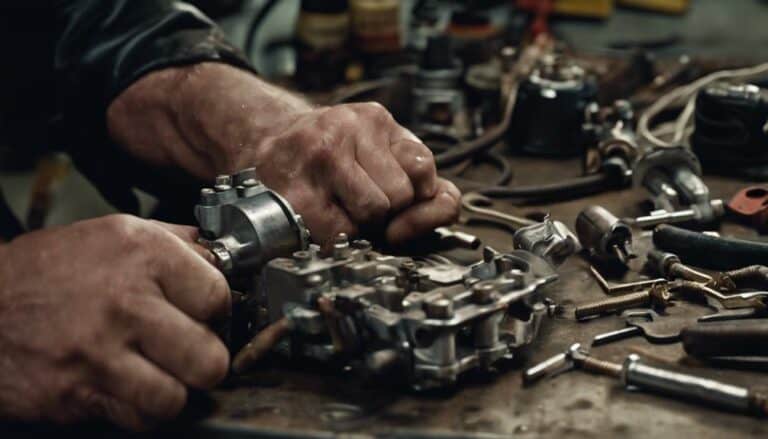
So, you're all set to tackle the solenoid replacement on your classic 1965 Harley Davidson Electra Glide.
Before you start into the process, make sure you have the necessary tools at hand. But remember, the key to a successful solenoid replacement lies not just in the tools you use but also in the precision with which you carry out each step.
Stay tuned to uncover some expert tips that can make this task smoother and more efficient for you.
Key Takeaways
- Use necessary tools like wrenches and multimeters for safe solenoid replacement.
- Disconnect old solenoid carefully, noting wire connections and mounting bolts.
- Install the new solenoid correctly, ensuring compatibility and secure connections.
- Test the replacement solenoid for continuity and functionality, prioritizing safety precautions.
Tools Required for Solenoid Replacement
To efficiently replace the solenoid on your 1965 Harley Davidson Electra Glide, make sure you have a wrench or socket set ready as essential tools. These tools are important for accessing and removing the starter solenoid securely.
Additionally, having pliers and screwdrivers on hand can assist in disconnecting wires and components attached to the solenoid. A multimeter is also recommended to test electrical connections and guarantee proper functioning after installation.
Before starting the replacement process, create a clean work area to prevent any dirt or debris from entering the motorcycle's internal components. Remember to follow safety precautions, such as wearing gloves and safety goggles, to protect yourself during the procedure.
Consulting the manufacturer's guidelines and service manual specific to your Electra Glide model is essential for accurate steps and ensuring a successful solenoid replacement. Adhering to these instructions will lead to a smooth and efficient solenoid replacement process.
Locating the Solenoid on Your Electra Glide
The solenoid on your Electra Glide can typically be found near the battery or starter motor. It is a small cylindrical component with wires attached, essential for directing current from the battery to the starter motor when you engage the ignition. Locating the solenoid is important for maintaining the starting system of your 1965 Harley Davidson Electra Glide. To help you identify its exact placement, refer to the following table:
| Location | Description |
|---|---|
| Near the battery | Look for a small cylindrical component with wires connected. |
| Near the starter motor | Check around this area on the frame for the solenoid mounting. |
| Connected to ignition | The solenoid plays a key role in the ignition and starting system. |
| Wires attached | Typically, there are wires running from the solenoid for connection. |
| Battery proximity | The solenoid is usually positioned close to the battery for ease of current flow. |
For detailed instructions on replacing the solenoid, consult your service manual or online resources specific to your Electra Glide model.
Removing the Old Solenoid Safely
When disconnecting the old solenoid for replacement, make sure to first disconnect the negative battery cable to prevent electrical shocks. Follow these steps to safely remove the old solenoid from your Harley Davidson Electra Glide:
- Locate the Old Solenoid: Find the solenoid on your motorcycle, usually positioned near the battery or starter motor.
- Remove Mounting Bolts: Utilize the appropriate tools to loosen and take out the mounting bolts that secure the old solenoid in place.
- Disconnect Electrical Connections: Prior to extraction, disconnect all electrical connections linked to the solenoid, including wires and terminals.
Installing the New Solenoid Correctly
For precise installation of the new solenoid on your Harley Davidson Electra Glide FLH model, confirm compatibility and follow the manufacturer's guidelines diligently. Begin by disconnecting the battery and carefully removing the old solenoid to prevent any damage to surrounding components.
When installing the new solenoid, make sure it's positioned correctly according to the manufacturer's specifications. Securely fasten all electrical connections to the solenoid to guarantee proper functionality. Check that all connections are tight and secure before proceeding.
Take extra care to follow the recommended orientation to prevent any errors in the installation process. Prior to reconnecting the battery, double-check the entire installation for any loose connections or potential issues.
This meticulous approach will help ensure the successful integration of the new solenoid into your Harley Davidson Electra Glide FLH model's starter system, promoting the best performance and reliability.
Testing the Solenoid Replacement
To test the replacement solenoid on your Harley Davidson Electra Glide FLH model, make sure the battery cables are disconnected to prevent electrical hazards. Follow these steps:
- Check Continuity: Use a multimeter to test the continuity of the solenoid coil. This guarantees that the coil is functioning correctly and will engage the starter when needed.
- Inspect Terminals: Verify that the solenoid terminals are clean and free of corrosion. Corrosion can disrupt the electrical connection, leading to issues with the solenoid's performance.
- Test Engagement: Apply power to the solenoid terminal and ground the case. This action should engage the starter. If the starter doesn't engage, the solenoid may be faulty and require replacement with a compatible unit.
Conclusion
To sum up, replacing the solenoid on your 1965 Harley Davidson Electra Glide is a straightforward process that can be completed with basic tools and knowledge.
While some may find the task challenging, following the outlined steps carefully will guarantee a successful solenoid replacement.
Remember to always prioritize safety and take your time to avoid any mishaps during the process.
With patience and attention to detail, your Electra Glide will be back on the road in no time.

