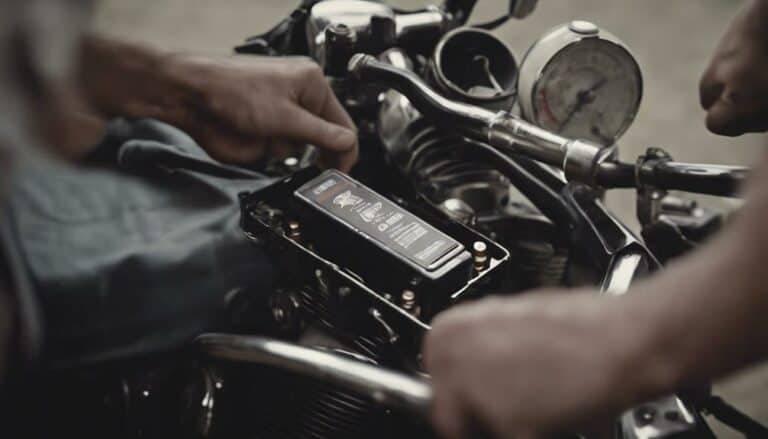
When it comes to changing the battery on your Harley Davidson Fatboy, it's like uncovering a hidden gem within your bike's intricate design. The process may seem challenging, but with the right guidance, it can be a smooth journey.
From disconnecting the old battery to securely attaching the new one, each step plays an important role in ensuring your Fatboy's performance. So, grab your tools and get ready to give your ride the power it deserves.
Key Takeaways
- Prioritize safety with protective gear and stable workspace.
- Use proper tools like pliers and screwdrivers for battery removal.
- Position the new battery correctly with clean terminals for optimal performance.
- Test all connections, functions, and voltage before a short ride for verification.
Safety Precautions
To guarantee your safety during the battery replacement process for your Harley Davidson Fatboy, wear protective gloves and eyewear at all times. Before starting, make certain that your bike is on a stable surface and in a well-ventilated area. Safety should be your top priority to prevent any accidents. Once you have secured the necessary protective gear and set up your workspace, it's time to dive into the process.
When working on your Harley Davidson Fatboy, make it look easy by following these steps meticulously. Begin by carefully disconnecting the battery terminals to avoid any short circuits or electrical mishaps. Take your time with this step to make sure everything is done correctly. Remember to keep all removed parts organized and labeled for easy reassembly later on.
Tools Required
Make sure you have pliers, screwdrivers, and an allen wrench ready for disassembling your Harley Davidson Fatboy to access the battery. Proper tool organization is key to a successful battery replacement process. These tools will help you locate the battery, which is often hidden within the bike's structure. Check the battery size to make sure the tools fit for easy access.
Before starting, make sure your tools are well-maintained to prevent any mishaps during the disassembly. The accessibility of tools plays an important role in the efficiency of the task. Once you have located the battery, focus on the battery connections. The tools you have prepared will aid in disconnecting the old battery swiftly and safely.
Properly selecting and using your tools will make the battery replacement process on your Harley Davidson Fatboy a smooth and liberating experience.
Removing the Old Battery
Carefully disconnect the negative terminal first to guarantee safety and prevent electrical hazards when removing the old battery from your Harley Davidson Fatboy. To successfully complete this task, follow these steps:
- Proper handling: Make sure you handle the battery carefully to prevent any damage.
- Disassembly process: Utilize pliers, screwdrivers, and an allen wrench to disassemble the necessary parts to access the battery.
- Securely reattaching clips: Make sure all clips and sensors are securely reattached when removing the old battery.
- Avoid dropping the battery: Handle the battery with care to prevent any accidental drops that could lead to damage.
- Follow safety precautions: Adhere to proper steps to safely remove the old battery, minimizing the risk of issues during reassembly.
Installing the New Battery
Position the new fully charged battery correctly in the compartment to guarantee a seamless fitment and peak performance for your Harley Davidson Fatboy. Make sure the positive terminal is facing the correct direction and align the battery securely. Follow the steps below to complete the installation successfully:
| Steps | Tips |
|---|---|
| 1. Place the battery | • Double-check the battery size to make sure compatibility. |
| in the compartment. | • Clean the terminals before installation for better connectivity. |
| 2. Connect the positive | • Tighten the terminal connections properly to avoid loose connections. |
| terminal first. | • Use dielectric grease on the terminals to prevent corrosion. |
| 3. Connect the negative | • Inspect the battery periodically for any signs of leakage or damage. |
| terminal. | • Follow the manufacturer's guidelines for the charging process. |
After installing the new battery, remember to test the bike's ignition and electrical functions. Regular battery maintenance, proper charging processes, and troubleshooting tips can enhance the longevity and performance of your Harley Davidson Fatboy.
Testing and Final Steps
To guarantee the successful installation of the new battery on your Harley Davidson Fatboy, it's essential to thoroughly test the bike's ignition and functions before finalizing the process. Here are some important steps to make sure your new battery is working correctly:
- Verify all connections are secure and properly reattached after battery replacement.
- Test the bike's ignition, lights, and other functions to make sure the new battery is functioning correctly.
- Use a multimeter to check the battery's voltage and confirm it's within the recommended range.
- Start the bike and listen for any unusual sounds or issues that may indicate a problem with the battery installation.
- Take the bike for a short test ride to confirm that the battery is providing power consistently during operation.
Conclusion
To sum up, changing the battery on a Harley Davidson Fatboy is an important maintenance task that can be done with the right tools and precautions.
Did you know that a properly maintained battery can last up to 5 years on a Harley Davidson Fatboy?
By following the steps outlined in this article, you can make sure your bike's battery stays in top condition and avoid any unexpected issues on the road.
Happy riding!

