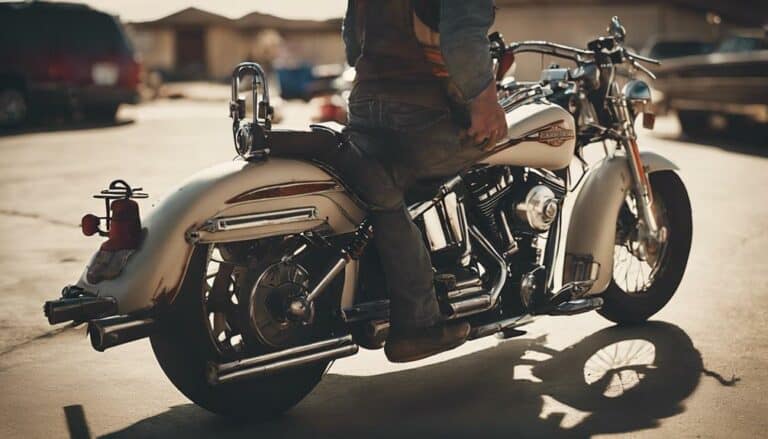
Ensuring a Harley Davidson is securely strapped in a trailer starts with strategic placement and proper equipment.
Wheel chocks play a pivotal role in preventing potential shifts during transport.
When it comes to tying down your prized possession, utilizing sturdy ratchet straps with precision is key.
But what's the critical step that guarantees your Harley stays safe and sound throughout the journey?
Key Takeaways
- Utilize wheel chocks for front stability and prevent rocking.
- Secure the front with a strap on the fork and fender.
- Use ratchet straps on the swingarm for rear security.
- Conduct regular safety checks every 10-15 miles for secure transport.
Necessary Equipment for Securing Harley
When securing your Harley Davidson in a trailer, make sure you have the necessary equipment for a safe and stable transport. Start by utilizing wheel chocks to prevent side-to-side rocking and guarantee stability during motorcycle transport. Choose ratchet straps made of nylon with ratcheting ends for tight and secure strapping of the Harley Davidson.
Next, secure the front of the motorcycle by wrapping a ratchet strap around the front fork and passing it through the fender. For the rear, use another strap around the swingarm and hook it to a floor-mounted position. These trailer tie downs are vital to prevent any movement of the bike during transit.
Remember to conduct regular safety checks every 10-15 miles to verify the tightness of the straps and assure safe transportation of the Harley Davidson in the trailer. By properly equipping yourself with these tools, you can enjoy the freedom of the open road knowing your bike is secure.
Positioning the Harley in the Trailer
To position the Harley Davidson in the trailer securely, start by placing the motorcycle in the center for best weight distribution. This guarantees that the weight is evenly distributed, preventing the trailer from becoming unbalanced during transit.
Make sure the motorcycle is facing forward to avoid any shifting while on the road. Leave ample space between the Harley and the trailer walls to prevent any potential contact that could lead to damage. By maintaining a forward-facing position and providing enough room on each side, you reduce the risk of the motorcycle rubbing against the trailer during transportation.
Proper positioning is essential not only for weight distribution but also for contact prevention. Once the Harley is centered, facing forward, and adequately spaced, you're ready to secure it in place using wheel chocks and straps for a safe and stable transport experience. Remember, the key is to position the Harley correctly within the trailer to ensure a smooth journey ahead.
Securing the Front Wheel of Harley
To guarantee the front wheel of your Harley Davidson is securely fastened for transport, use a wheel chock to stabilize the motorcycle and prevent side-to-side rocking during transit. Begin by placing the wheel chock on the trailer floor against the front wheel of the Harley. Make sure it fits snugly to hold the wheel in place. Next, carefully roll the front wheel of the motorcycle into the wheel chock until it is firmly secured.
| Step | Description |
|---|---|
| Place wheel chock | Position the wheel chock against the front wheel on the trailer floor. |
| Secure the front wheel | Carefully roll the front wheel into the wheel chock for a tight fit. |
| Check stability | Confirm the front wheel is held securely in place and cannot move side-to-side. |
Strapping the Rear of the Harley
For secure transport of your Harley Davidson, fasten the rear of the motorcycle using ratchet straps around the swingarm and secure them to floor-mounted positions in the trailer. Make sure the straps are pulled tight to eliminate any potential movement or shifting of the bike during transportation. Repeat this process on the other side of the motorcycle to establish four points of contact for secure rear strapping.
To enhance Harley stability during transport, make sure to check and adjust the tension of the rear straps periodically while on the road. This step is important for maintaining a safe and stable transport. Common mistakes in rear strapping include not securing the straps tightly enough, which can lead to the motorcycle shifting and potentially getting damaged.
Double-Checking the Securement of Harley
Double-check the security of your Harley Davidson by making sure all straps are tightly fastened and all securement points are properly inspected before setting off on your journey. Start by examining the anchor points at the front and rear of the motorcycle to confirm they are secure and can withstand the vibrations of the road. Tighten any straps that may have loosened during the initial strapping process to prevent any potential movement. To assist you in this process, refer to the table below for a quick overview of the key points to inspect:
| Checklist for Securing Your Harley | ||
|---|---|---|
| 1. Inspect Anchor Points | 2. Tighten Straps | 3. Check Wheel Chocks |
| Make sure all anchor points are secure and show no signs of damage. | Tighten all straps to eliminate any slack and make sure a snug fit. | Verify that the wheel chocks are holding the front tire securely in place. |
| 4. Confirm Ratchet Straps | 5. Perform Regular Safety Checks | |
| Check that ratchet straps are tightly fastened around the front fork and rear swingarm. | Stop periodically to check the straps for any loosening and make sure the Harley remains securely fastened. |
Conclusion
Now that you have successfully strapped your Harley Davidson in the trailer, you're all set for a smooth and safe journey. Remember, better safe than sorry!
So, before hitting the road, always double-check the straps to make certain they're tight and secure. As they say, 'An ounce of prevention is worth a pound of cure.'
Happy riding!

