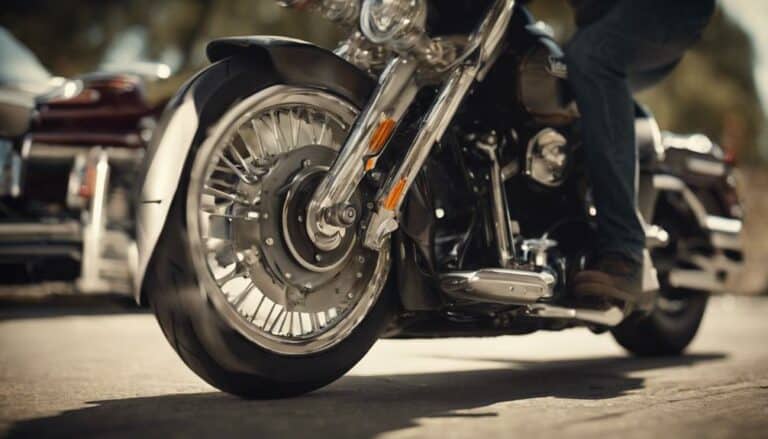
Imagine cruising down the highway on your 2011 Harley Davidson Electric Glide, feeling the power of the engine beneath you and the wind in your face.
Now, picture how a simple adjustment could revolutionize your riding experience. Lowering your Electric Glide can be a game-changer, offering enhanced handling and a more comfortable ride.
Ready to discover the step-by-step process for achieving this modification and unleashing a new level of enjoyment on your Harley?
Key Takeaways
- Lowering enhances stability, handling, and comfort.
- Achieves a sleek, custom look with improved aesthetics.
- Requires tools like a jack, socket set, and torque wrench.
- Adjust suspension settings for optimal performance post-lowering.
Benefits of Lowering Your Electric Glide
Lowering your 2011 Harley Davidson Electric Glide enhances stability, improves handling, and provides a more comfortable riding experience for various riders. By reducing the seat height, you lower the bike's center of gravity, making it more vital and easier to control, especially during low-speed maneuvers and stops. This adjustment can notably benefit riders with shorter inseams, allowing them to reach the ground more comfortably and confidently. The improved ergonomics not only enhance rider comfort but also contribute to increased control over the motorcycle.
In addition to the functional advantages, lowering your Electric Glide can also enhance its aesthetic appeal. The sleeker profile achieved by lowering the bike gives it a more custom look, adding a touch of personal style to your Harley Davidson. To affirm a proper fit and maintain the high standards of your motorcycle, it's essential to select a reputable lowering kit specifically designed for the 2011 Harley Davidson Electric Glide. With the right kit and installation, you can enjoy a more stable, comfortable, and stylish riding experience.
Tools Required for Lowering Process
To facilitate the lowering process of your 2011 Harley Davidson Electric Glide effectively, make sure you have a motorcycle jack or lift, a socket set, a torque wrench, and Loctite threadlocker at your disposal.
Using a motorcycle jack guarantees stability and safety when working on the bike's suspension components. The socket set is essential for removing and installing the bolts holding the shocks and lowering kit in place. A torque wrench is essential for tightening the bolts to the manufacturer's specified torque settings, preventing issues during riding.
Applying Loctite threadlocker to the bolts helps secure them in place and prevents loosening due to vibrations while riding. When lowering your Electric Glide, it's essential to follow the proper technique, use the necessary equipment, and consider expert advice to ensure a successful and safe modification.
Step-by-Step Lowering Instructions
Consider using a motorcycle jack or lift to elevate your 2011 Harley Davidson Electric Glide for the lowering process. Lowering your bike can notably enhance riding comfort, improve stability, and allow for a personalized height adjustment to suit your needs.
Here are some step-by-step instructions to guide you through the process:
- Start by securing your motorcycle on a stable lift or jack.
- Remove the bolts securing the rear shocks to the frame.
- Adjust the shock positions to lower the bike to your desired height.
- Check for any clearance issues or potential contact points.
- Test the bike after lowering to make sure stability and proper functionality.
Adjusting Suspension Settings After Lowering
After lowering your 2011 Harley Davidson Electric Glide, it is imperative to adjust the suspension settings to maintain excellent ride quality and handling. Proper suspension tuning is essential to make sure that your bike performs at its best post-lowering. Below is a table outlining the handling adjustments you may need to make:
| Suspension Setting | Adjustment Needed | Purpose |
|---|---|---|
| Rear Shock Preload | Increase preload level | Prevent bottoming out |
| Compression Damping | Increase damping | Enhance cornering stability |
| Rebound Damping | Adjust to suit preference | Ensure comfortable ride quality |
To fine-tune your motorcycle's suspension, refer to the owner's manual or seek advice from a Harley Davidson dealership. Remember, maintaining the correct suspension settings after lowering your bike is essential for both safety and performance. Regularly test and inspect the adjustments you make to guarantee that they align with your comfort and handling preferences.
Safety Precautions and Test Ride
Make sure that your safety gear, including gloves and eye protection, is worn throughout the process of lowering your 2011 Harley Davidson Electra Glide to prevent any potential hazards. When lowering your bike, safety should always be a top priority.
After adjusting the suspension settings, it's essential to conduct a test ride to guarantee the bike's handling and clearance aren't compromised.
Here are some key safety precautions and steps to take during and after lowering your Harley:
- Inspect Bolt Tightness: Check and tighten all bolts and connections to make sure they're secure and torqued to the manufacturer's specifications.
- Adjust Suspension if Needed: Modify the suspension settings as necessary to accommodate the new lowered position for a comfortable ride.
- Reevaluate Headlight Angle: Consider readjusting the headlight angle post-lowering to maintain proper visibility and road safety.
- Maintain Visibility: Ensure that the headlight and other visibility features aren't obstructed by the lowering modifications.
- Test Handling: Conduct a thorough test ride to assess the bike's handling and make any additional adjustments if needed.
Conclusion
To sum up, lowering your 2011 Harley Davidson Electra Glide can greatly improve stability and comfort for riders with shorter inseams.
Did you know that lowering the bike by just 1 inch can reduce the seat height by up to 2 inches, making it much more accessible for shorter riders?
By following the proper steps and ensuring safety precautions, you can enjoy a smoother and more comfortable ride on your Electra Glide.

