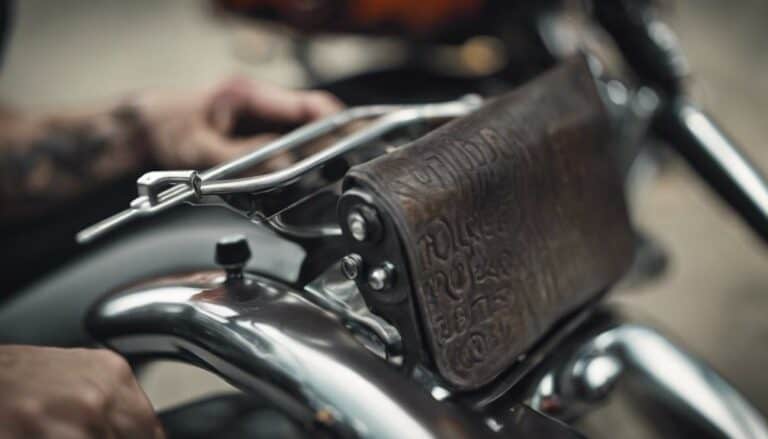
Like piecing together a complex puzzle, installing a rider backrest on your Harley Davidson Trike requires patience and precision. As you begin on this task, each step will unfold, revealing the intricacies of enhancing your riding comfort.
By following the detailed instructions provided, you will soon discover the gratification that comes from mastering this installation process and elevating your riding experience.
Key Takeaways
- Use a 7/16 wrench and Allen wrench for stable backrest installation.
- Remove seat components, attach backrest bracket securely, and install the backrest pad.
- Adjust backrest angle for comfort by loosening and tightening bolts.
- Follow steps carefully for a safe and customized rider backrest on your Harley Davidson Trike.
Tools Required for Installation
To begin installing a rider backrest on your Harley Davidson trike, gather the essential tools required for the installation, including a 7/16 wrench and an Allen wrench. Proper tool maintenance is important for a successful installation process. Before starting, make sure that your tools are in good condition, free of rust or damage, to prevent any issues during installation. Safety precautions are essential when working on your trike. Always wear appropriate protective gear, such as gloves and safety goggles, to avoid any potential injuries.
The 7/16 wrench is used to tighten bolts securely, ensuring the backrest mount remains stable. The Allen wrench is essential for adjusting the bracket position and fine-tuning the tilt of the backrest to your liking. These tools are specifically designed to make the installation process smooth and efficient. By using the correct tools and following safety guidelines, you can achieve a secure and comfortable fit for your rider backrest on the Harley Davidson trike.
Removing the Seat
If you have successfully removed the saddlebag and passenger handhold, the next step in removing the seat on your Harley Davidson Trike is disconnecting the ECM module. This is essential to guarantee a smooth process for mounting the backrest and providing ideal passenger comfort. Follow these steps to disconnect the ECM module:
| Step | Instructions |
|---|---|
| 1 | Locate the ECM module under the seat. |
| 2 | Use the appropriate tool to remove the two bolts securing the ECM module. |
| 3 | Gently disconnect the wiring harness from the ECM module. |
| 4 | Carefully set aside the ECM module in a safe location. |
Attaching the Backrest Bracket
Secure the lower part of the backrest mount on your Harley Davidson trike by using screws and nuts for a stable foundation. To attach the backrest bracket correctly, follow these steps:
- Align the holes in the frame with the L bracket holes for proper positioning.
- Attach bolts and nuts through the aligned holes to secure the bracket in place.
- Use a 7/16 wrench to tighten the bolts securely to guarantee stability.
- Adjust the bracket position according to your desired backrest height and mounting position for best comfort before finalizing the installation.
Properly securing the backrest bracket is important for a safe and comfortable riding experience on your trike. Taking the time to align the bracket correctly, tighten the bolts securely, and adjust the position to your liking will contribute to a more enjoyable ride.
Next, we'll go into 'Installing the Backrest Pad' to complete the installation process.
Installing the Backrest Pad
Position the backrest pad against the backrest mount, ensuring proper alignment of the holes. Make sure the holes on the backrest pad match up perfectly with the holes on the mount to allow for a secure attachment. Once aligned, insert screws through the holes and fasten them securely with nuts. Tighten the screws evenly to avoid any misalignment. This step is important for the stability and safety of the backrest pad.
When installing the backrest pad, consider customization options. Some riders prefer to add accessories to the pad for personalization. Make sure that any additional accessories are compatible with the backrest pad and don't interfere with its attachment to the mount.
Regular maintenance of the backrest pad is also important. Check the tightness of the screws and nuts periodically to prevent loosening, especially after extended use. Proper maintenance will help keep the backrest pad secure and functioning correctly. Once the pad is securely attached, you can proceed to adjust its height and angle to your liking for the best comfort during your rides.
Adjusting the Backrest Angle
To adjust the backrest angle on your Harley Davidson Trike, utilize an Allen wrench to customize the tilt according to your comfort preferences. Follow these steps to fine-tune the backrest angle for the best support and riding posture:
- Sit on your Harley Davidson Trike and feel the current position of the backrest.
- Loosen the bolts located on the backrest bracket using the Allen wrench.
- Adjust the angle of the backrest to experiment with different positions that feel comfortable for your back.
- Once you find the ideal angle, tighten the bolts securely to make sure the backrest stays in place during your ride.
Conclusion
In optimal, installing a rider backrest on a Harley Davidson Trike can greatly enhance the comfort and support for the passenger during rides. By following the detailed steps outlined in this guide, you can optimal a secure and customized fit for maximum enjoyment.
Remember to make any necessary adjustments for optimal comfort and always double-check that all components are securely fastened before hitting the road.
Experience the difference a backrest can make on your next ride!

