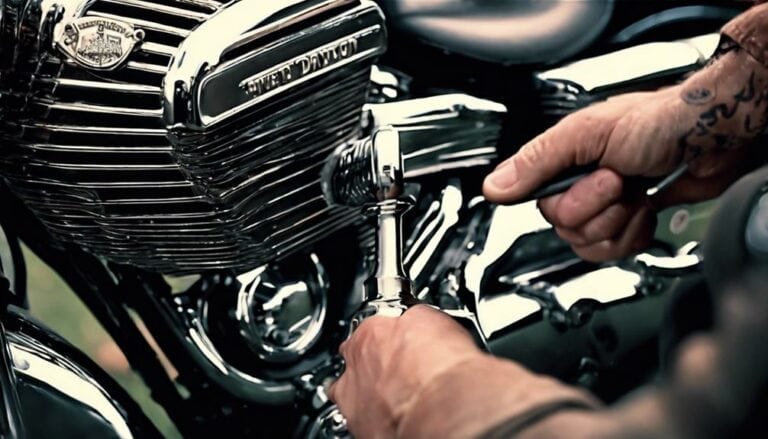
When it comes to removing the trunk off your Harley Davidson Classic Electra Glide, it's like unraveling a puzzle to reveal hidden treasures. The process requires a delicate touch and a keen eye for detail. You'll need to carefully disassemble certain components, ensuring everything stays intact.
But what happens next is essential for the smooth operation of your bike. Stay tuned to uncover the secrets of removing the trunk and discover the steps to reattach it securely, ensuring your ride stays as classy as ever.
Key Takeaways
- Disconnect all wiring and cables before removing the trunk.
- Use appropriate tools and safety gear for a smooth removal process.
- Lift the trunk carefully off the mounting plate to avoid damage.
- Secure the trunk firmly with correct torque specifications after reattachment.
Preparing Your Harley for Trunk Removal
To prepare your Harley for trunk removal, first disconnect the power by turning off the ignition switch and disconnecting the battery to secure safety. Then, remove the seat by unscrewing the seat bolt with an appropriate tool. This will give you easier access to the trunk mounting points located underneath the seat.
Next, identify any wiring or cables connected to the trunk. Carefully disconnect these cables to prevent any damage during the removal process. It's essential to handle these connections with care to avoid any electrical issues later on.
As an added precaution, consider using a protective covering to shield any exposed areas on the bike where the trunk was attached. This will help maintain the cleanliness of your bike and give it a polished look after the trunk is removed.
Tools Needed for Trunk Removal
Disconnect the power source and remove the seat to access the trunk mounting points underneath for the Harley Davidson Classic Electra Glide trunk removal.
To effectively tackle trunk removal techniques, you'll need specific tools on hand. A pick tool will be necessary for delicately disconnecting wiring, while a socket wrench will come in handy for removing nuts securely. Additionally, an appropriately sized wrench for bolts is essential for a smooth removal process.
Organizing your workspace meticulously is vital to avoid misplacing small components during the trunk removal. By following a systematic guide or tutorial, you can navigate through trunk removal challenges with ease.
Remember to prioritize safety by wearing gloves and eye protection to prevent any potential injuries while working on your bike. Properly labeling and organizing all removed components and hardware will simplify the reassembly process and prevent confusion later on.
Step-by-Step Trunk Removal Process
Begin by carefully inspecting the trunk area of your Harley Davidson Classic Electra Glide for any wiring or components that need to be guaranteed before proceeding with the removal process.
Start by removing the seat to access the trunk mounting area more easily.
Next, disconnect all wiring harnesses and cables connected to the trunk, making certain gentle handling to prevent any damage.
Once all the wiring is detached, locate and unscrew the bolts that secure the trunk to the bike.
After removing the bolts, lift the trunk off the mounting plate and set it aside.
Remember to keep the area clean and free of debris to prevent any damage during the removal process.
This step-by-step process guarantees a smooth trunk removal experience, whether you're performing trunk maintenance or exploring custom trunk options.
Tips for Smooth Trunk Removal
Inspect the trunk mounting area for any remaining connections or fasteners that may hinder a smooth trunk removal process on your Harley Davidson Classic Electra Glide. To guarantee a hassle-free trunk removal, consider the following tips:
| Trunk Removal Techniques | Trunk Removal Challenges |
|---|---|
| Check all wiring connections to the trunk, including lights and speakers. | Confirming all fasteners are removed without leaving any behind. |
| Loosen and eliminate nuts or bolts securing the trunk to the mounting plate or frame. | Avoiding any damage to the bike or trunk during the removal process. |
| Lift the trunk carefully off the mounting plate once all fasteners are removed. | Organizing or labeling wiring connections for easy reconnection in the future. |
Reattaching the Trunk Safely
Reconnect all wiring connections securely when reattaching the trunk on your Harley Davidson Classic Electra Glide to guarantee proper functionality and safety. Follow these steps to make sure of a secure attachment:
- Check Trunk Alignment: Before securing the trunk with bolts or fasteners, align the mounting plate properly to avoid any misalignment issues that could impact the safety and aesthetics of your motorcycle.
- Secure Wiring Connections: Double-check that all wiring connections are firmly fastened to prevent any electrical malfunctions while riding, ensuring a safe and reliable operation.
- Tighten Bolts Correctly: Use the recommended torque specifications provided by the manufacturer when tightening the bolts to secure the trunk. This prevents over-tightening or under-tightening, which could lead to loose fittings or damage.
Conclusion
To wrap up, by following the step-by-step guide and utilizing the necessary tools, you can successfully remove the trunk from your Harley Davidson Classic Electra Glide. Remember to prioritize safety throughout the process and take your time to guarantee a smooth removal.
Once the trunk is removed, you can reattach it securely to complete the task. Take pride in your meticulous work and enjoy the refreshed look of your bike.

