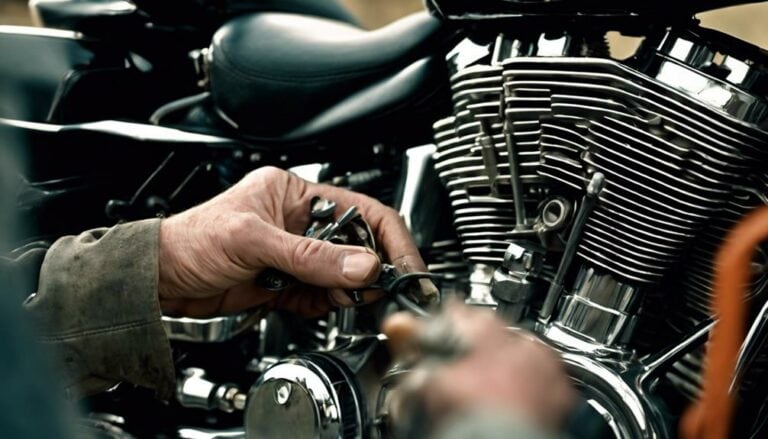
When it comes to your Harley Davidson Electra Glide, the process of replacing the clutch cable might seem challenging, but with the right guidance, it can be manageable.
Did you know that adjusting the nut to create slack in the clutch cable is an important step in this procedure?
Understanding the intricacies of this adjustment can greatly impact the overall performance of your Harley.
Stay tuned to discover the essential tools needed and the step-by-step process to guarantee a successful clutch cable replacement on your Electra Glide.
Key Takeaways
- Use specialty tools and service manual for proper clutch cable replacement.
- Pay attention to removing the old cable, routing, and lubrication.
- Ensure correct installation of the new cable without kinks or tension issues.
- Adjust clutch cable tension accurately for smooth operation and peak performance.
Tools Required for Clutch Cable Replacement
To begin the clutch cable replacement process on your Harley Davidson Electra Glide, make sure you have the necessary tools at hand for a smooth and efficient procedure. Some specialty tools like a clutch cable luber tool may be required for proper installation. These tools help make certain that the new clutch cable is lubricated correctly, reducing friction and extending the cable's lifespan on your Harley-Davidson Road.
Additionally, having a service manual specific to your model year is essential. This manual will guide you through the process, including any important steps or considerations for your particular Electra Glide model.
It is also important to have the right tools for adjusting the clutch cable tension after installation. Proper adjustment is key to best performance and longevity of your clutch system. Remember that different Electra Glide models may have varying clutch cable routing, so consulting the manual for guidance on your specific model is highly recommended.
Removing the Old Clutch Cable
Disconnect the clutch cable from the clutch lever by removing the pivot pin, then proceed to loosen the clutch cable adjuster nut to create slack in the cable.
To access the clutch cable, remove the right side of the exhaust and the right saddlebag. Once the cable is visible, make sure it's completely detached before continuing.
Before removing the old clutch cable, lubricate it to facilitate the process and guarantee smooth operation of the new cable. Inspect the cable carefully for any signs of wear, fraying, or damage that could impact performance.
Pay attention to the cable routing, noting how it's threaded through the bike to replicate the process during installation.
Installing the New Clutch Cable
Begin by threading the new clutch cable through the same path as the old cable, ensuring proper alignment and attachment. Pay attention to the cable routing tricks to avoid any kinks or sharp bends that could hinder the cable's movement. Ensure the cable length considerations are met, allowing for smooth operation without excess slack or tension.
Here are some cable lubrication tips to enhance the cable's longevity and performance:
- Use a high-quality cable lubricant to reduce friction and wear.
- Apply the lubricant evenly along the entire length of the cable.
- Work the cable back and forth to help the lubricant penetrate the inner components.
- Wipe off any excess lubricant to prevent attracting dirt and debris.
- Regularly inspect and reapply lubricant as needed to maintain optimal performance.
Following these steps will help you install the new clutch cable correctly, ensuring a reliable and responsive clutch system on your Harley Davidson Electra Glide.
Adjusting the Clutch Cable Tension
After installing the new clutch cable on your Harley Davidson Electra Glide, the next step is to adjust the clutch cable tension for peak performance.
To begin, locate the clutch cable adjuster locknut near the clutch lever and loosen it to create slack in the cable. Once you have slack, turn the adjuster in the appropriate direction to adjust the tension.
It's important to confirm that the clutch cable has the proper tension – not too tight or loose – for smooth operation without excessive play.
After making adjustments, test the clutch lever to make sure it feels right and engages properly.
Testing the Clutch Cable Operation
To assess the clutch cable operation, engage the clutch lever and visually confirm smooth movement of the cable. Ascertain the clutch cable moves freely without any hindrance.
Here are some steps to help you test the clutch cable operation effectively:
- Checking cable condition: Look for any kinks, fraying, or signs of wear on the clutch cable during operation.
- Lubricating cable: Apply a suitable lubricant to the clutch cable to guarantee smooth movement and prevent corrosion.
- Troubleshooting issues: If you encounter any resistance or irregularities while testing the clutch cable, investigate the source of the problem.
- Testing clutch engagement: Operate the clutch lever multiple times to confirm consistent performance and proper tension.
- Checking for binding: Verify that the clutch cable doesn't bind or stick during operation to ensure safe and reliable clutch engagement.
Conclusion
In summary, replacing the clutch cable on your Harley Davidson Electra Glide is a vital maintenance task that can enhance the performance of your bike.
By following the steps outlined in this article, you can guarantee a smooth and efficient clutch operation.
Remember to check the tension and functionality of the new clutch cable to guarantee peak performance on your rides.
So rev up, ride on, and enjoy the smooth shifting of your Harley!

