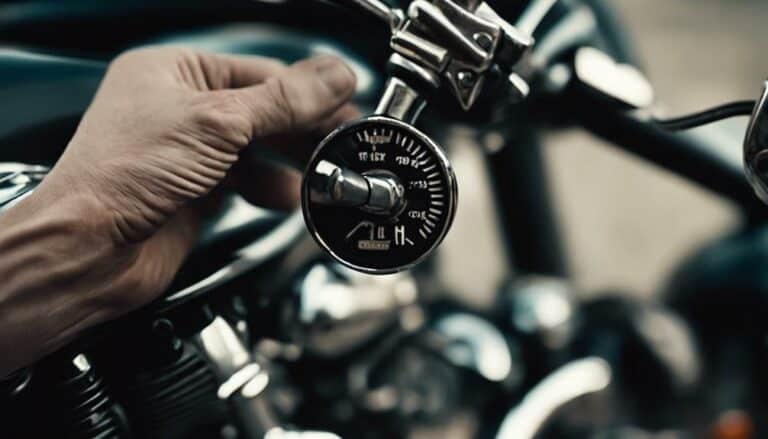
Ever wondered how you could fine-tune the hand grip clutch lever on your Harley Davidson for a smoother ride? Adjusting this crucial component can significantly enhance your riding experience, but where do you start?
By following a few simple steps, you can customize your clutch engagement to suit your preferences and ensure optimal performance.
So, are you ready to take control and optimize your Harley's clutch operation?
Key Takeaways
- Locate and adjust the clutch cable mechanism near the hand grip for customization.
- Fine-tune the clutch engagement point to your preference for optimal control.
- Test the clutch lever for smooth operation and troubleshoot any issues.
- Ensure secure adjustments and proper maintenance for a safe and efficient riding experience.
Tools Required for Adjustment
To begin adjusting the hand grip clutch lever on your Harley Davidson, gather the basic wrench set, Allen keys, and cable lubricant as essential tools for the adjustment process.
Proper techniques are crucial for a successful adjustment. Firstly, ensure the motorcycle is on a stable surface and the engine is cool to prevent accidental burns.
Next, locate the clutch cable adjuster mechanism near the hand grip. Use the appropriate wrench and Allen keys to loosen the locknut and adjust the cable tension as needed. Apply cable lubricant to maintain smooth operation.
Maintenance tips include using a clean cloth to wipe down the clutch cable regularly to prevent dirt buildup, ensuring optimal performance. Optional tools like a cable tension gauge can aid in precise adjustments.
Locating the Clutch Lever Adjustment
Near the clutch lever on your Harley Davidson, you'll typically find the clutch lever adjustment mechanism. This mechanism allows you to customize the clutch engagement point to your preference, providing you with the freedom to tailor the lever to your specific riding style.
Understanding the location and function of the clutch lever adjustment is crucial for troubleshooting common issues such as clutch slippage or difficulties in gear shifting. By locating and familiarizing yourself with this adjustment, you gain access to customization options that can greatly enhance your riding experience.
Proper adjustment not only improves comfort and control but also ensures optimal clutch performance. Being able to identify and access the clutch lever adjustment mechanism empowers you to make necessary changes to suit your needs, ultimately leading to a smoother and more enjoyable ride on your Harley Davidson.
Adjusting the Clutch Lever Freeplay
When adjusting the clutch lever freeplay on your Harley Davidson, focus on fine-tuning the distance the lever travels before engaging the clutch to achieve optimal clutch control and enhance your overall riding experience.
The clutch lever freeplay adjustment directly impacts the clutch feel and riding comfort, allowing you to customize it according to your preferences and style.
To adjust the freeplay, locate the adjustment mechanism on your Harley Davidson, typically found near the hand grip. Use the appropriate tools to either tighten or loosen the adjustment to achieve the desired freeplay.
It's crucial to find the right balance – too much freeplay can result in a delayed clutch engagement, while too little freeplay can cause premature clutch slippage.
Testing the Clutch Lever Adjustment
Engage and disengage the clutch lever multiple times to thoroughly test the adjustment for optimal functionality and performance. When testing the clutch lever adjustment, pay close attention to the clutch lever feel. It should offer a smooth and consistent experience when pulling and releasing it. Make sure that the clutch engages at the desired point without any excessive play or stiffness, as this can affect your shifting precision.
Listen attentively for any unusual noises or feedback while operating the clutch lever, as this could indicate underlying issues that need troubleshooting. The adjustment should provide you with optimal control and comfort during gear changes. If you encounter any difficulties or inconsistencies in the clutch lever feel, consider revisiting the lever adjustment tips to ensure it's correctly set up.
Common mistakes such as improper adjustments can impact the overall performance of the clutch system, so thorough testing is crucial for a safe and enjoyable riding experience.
Final Checks and Safety Precautions
After thoroughly testing the clutch lever adjustment for optimal functionality and performance, proceed to conduct final checks and safety precautions to ensure a smooth and safe riding experience.
Final Checks and Safety Precautions:
- Inspecting Wear: Thoroughly examine the clutch cable and adjuster components for any signs of wear or damage that may affect performance or safety.
- Troubleshooting Issues: Listen for unusual sounds or vibrations when engaging the clutch lever, as these could indicate underlying problems that need to be addressed promptly.
- Ensuring Tightness: Double-check the adjustment locknuts to guarantee they're securely tightened, preventing any potential loosening during operation. Loose components can lead to malfunctions and compromise rider safety.
Conclusion
Now that you've adjusted your hand grip clutch lever on your Harley Davidson, take a moment to appreciate the smooth shifting and improved clutch performance.
Enjoy the feeling of control and precision as you ride, knowing that your adjustments have optimized your riding experience.
Remember to regularly check and maintain your clutch lever adjustment to ensure consistent performance on the road.
Ride safe and enjoy the journey ahead!

