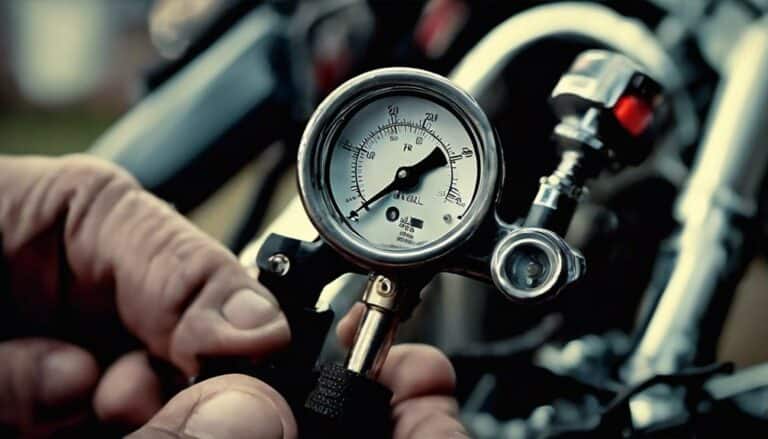
So, you've got your 1995 Harley Davidson Road King and need to fill those air shocks for a smoother ride, right?
Well, before you start, there's a crucial step that many overlook, leading to potential issues down the road.
Let's talk about the correct pressure levels needed to ensure optimal performance and safety on your Road King.
Stay tuned to discover the key to maintaining your bike's air shocks effectively.
Key Takeaways
- Locate the valve stem near the rear suspension for air pressure adjustments
- Use a Harley Davidson pump and pressure gauge for accurate filling
- Regularly monitor air pressure to maintain optimal suspension function
- Follow recommended pressure settings to ensure a smooth and controlled ride
Checking Airshock Pressure
To check the airshock pressure on your 1995 Harley Davidson Road King, locate the valve stem near the rear suspension and use a compatible Harley Davidson pump for adjustments.
Ensuring the air pressure in your airshocks is within the recommended range is crucial for a smooth and controlled ride on your Harley Davidson motorcycle. By referencing the owner's manual for the 1995 Road King, you can determine the appropriate air pressure settings.
Overinflating or underinflating the airshocks can lead to discomfort and compromise the bike's performance. Regularly monitoring the air pressure in the airshocks is essential to maintain optimal suspension function and enhance your overall riding experience on the road.
Gathering Necessary Tools
Prepare the essential tools required for filling the air shock on your 1995 Harley Davidson Road King, including a compatible Harley Davidson air suspension pump, a pressure gauge, a rag for cleaning, and knowledge of the recommended air pressure range.
- Harley Davidson Air Suspension Pump: Ensure you have the correct pump specifically designed for the 1995 Road King model to effectively fill the air shock.
- Pressure Gauge: This tool is crucial for accurately measuring the air pressure within the shock, allowing you to adjust it to the recommended range.
- Rag for Cleaning: Keep a rag or towel nearby to wipe off any dirt or debris around the valve stem before proceeding with filling the air shock.
- Knowledge of Recommended Air Pressure Range: Familiarize yourself with the manufacturer's guidelines regarding the ideal air pressure range for the 1995 Harley Davidson Road King air shock to ensure optimal performance and safety.
Having these tools at your disposal will facilitate the process of filling the air shock effectively and efficiently.
Locating Airshock Valve
Underneath the left side cover of your 1995 Harley Davidson Road King, you will typically find the airshock valve for easy access. Locating this valve is crucial as it will make a big difference in your ability to maintain the proper air pressure in your airshocks. Look for a valve stem with a cap that can be unscrewed to access the airshock valve. The valve may be positioned near the rear suspension or under the seat for convenient access. Ensuring you can easily reach the valve will facilitate the process of checking and adjusting the air pressure, which is vital for optimal suspension performance. Use the following table as a reference to further enhance your understanding:
| Location | Description |
|---|---|
| Under Left Side Cover | Typically where the airshock valve is found |
| Valve Stem with Cap | Unscrew to access the airshock valve |
| Near Rear Suspension | Common placement for easy access |
| Under the Seat | Another possible location for the valve |
| Convenient Access | Ensure easy reach for pressure adjustments |
Filling Airshocks With Air
When refilling air shocks on your 1995 Harley Davidson Road King, utilize a Harley Davidson pump for precise pressure adjustments. To ensure the process is smooth and efficient, follow these steps:
- Prevent Air Loss: Add 5 psi of air to the shocks before making adjustments. This initial addition helps counteract any potential air loss during the adjustment process.
- Maintain Accuracy: Use the pump gauge to monitor the air pressure levels in the shocks. This allows you to maintain the desired pressure accurately.
- Optimal Functionality: By keeping the air shocks properly pressurized, you ensure that your suspension functions as intended, providing a comfortable and stable riding experience.
- Regular Checks: Make it a habit to regularly check the air pressure in the air shocks. This practice helps prevent unexpected air loss and guarantees a consistent performance from your Harley Davidson Road King's suspension system.
Testing Airshock Pressure
To accurately assess the pressure in your 1995 Harley Davidson Road King's air shock, locate the air valve stem and use a compatible pressure gauge for measurement. Compare the measured pressure to the manufacturer's recommended pressure.
If the pressure is low, use a Harley Davidson pump to add air in small increments until reaching the desired pressure. It's crucial to regularly test and adjust the air shock pressure for optimal performance and riding comfort.
Adjusting the pressure ensures that your bike's suspension functions as intended, providing a smooth and controlled ride. Over time, changes in temperature and riding conditions can affect the air shock pressure, making it essential to monitor and make adjustments when necessary.
Conclusion
In conclusion, ensuring your 1995 Harley Davidson Road King air shocks are properly filled is crucial for a smooth and safe ride.
Remember, like a well-tuned instrument, properly filled air shocks can make all the difference in your riding experience.
So take the time to check, adjust, and maintain the air pressure in your air shocks to enjoy the open road to the fullest.

