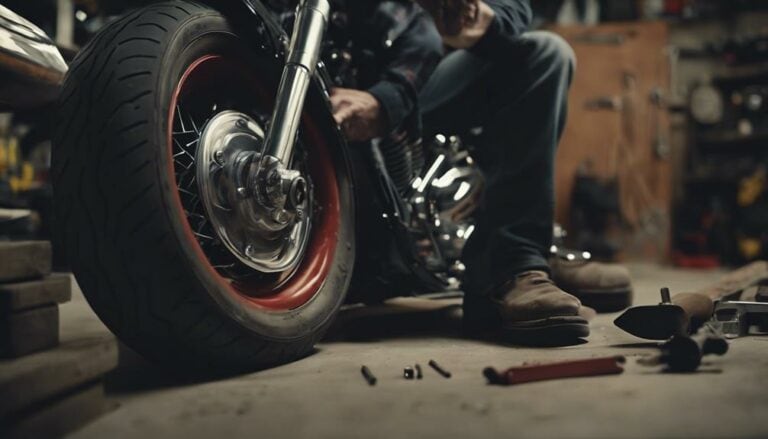
When it comes to replacing footboards on your Harley Davidson Tri Glide, it's like putting together a puzzle – each piece fitting perfectly into place.
But before you begin, there are a few key steps you need to follow to ensure a seamless installation process.
So, are you ready to elevate the comfort and style of your Tri Glide with a simple upgrade that can make a big difference in your riding experience?
Key Takeaways
- Use proper tools: 7/16 combination wrench, allen wrench, and socket wrench for successful foot board replacement.
- Inspect old foot boards: Check for wear, loosen nuts, detach carefully, and inspect mounting brackets.
- Install new foot boards: Slide arms in, use stock hardware, align holes, and double-check for secure installation.
- Adjust position carefully: Loosen bolts, reposition, align, tighten securely, and ensure stability before riding.
Preparing the Necessary Tools
To begin the process of replacing footboards on your Harley-Davidson Tri Glide, gather the necessary tools including a 7/16 combination wrench and allen wrench. These tools are vital for working on your touring motorcycle and will help you achieve a smooth installation process. Additionally, make sure to have a socket wrench on hand for later steps in the replacement procedure.
Having these tools ready shows your commitment to the task at hand and ensures that you can tackle the project efficiently. The 7/16 combination wrench and allen wrench are specifically designed to loosen the nuts holding the stock floorboards in place on your Harley-Davidson Tri Glide. By having the proper tools prepared, you're setting yourself up for success when it comes to upgrading your motorcycle with new footboards.
Removing the Old Foot Boards
Loosen the nuts securing the stock foot boards on both sides of your Harley-Davidson Tri Glide using a 7/16 combination wrench and allen wrench. Make sure to repeat this process on both sides to remove the old foot boards effectively.
As a touring enthusiast looking to upgrade your ride, freeing the old foot boards is the first step towards a more comfortable and personalized experience. Once the nuts are loosened, carefully detach the old foot boards from the mounting brackets.
Remember, the stock hardware will be reused when securing the replacement foot boards. After removing the old foot boards, take a moment to inspect the mounting brackets for any signs of wear or damage. This step ensures a smooth installation process when fitting the new foot boards.
Stay tuned for the next step in elevating your touring experience – installing the new foot boards.
Installing the New Foot Boards
After removing the old foot boards and inspecting the mounting brackets, proceed to securely install the new foot boards on your Harley-Davidson Tri Glide by sliding the new foot boards' arms into the corresponding holes. Follow these steps to ensure a proper installation:
- Use the stock hardware provided to secure the replacement foot boards in place.
- Ensure proper alignment of the holes and bolts before tightening them with a socket wrench.
- Double-check that the foot boards are securely installed and adjust as needed for comfort and safety.
Once everything is securely in place, take a moment to appreciate the enhanced style and aesthetics that the new foot boards bring to your Harley-Davidson Tri Glide. Enjoy the upgraded look and feel of your Harley-Davidson touring experience with the newly installed foot boards.
Adjusting the Foot Board Position
Adjust the position of the foot boards on your Harley-Davidson Tri Glide using a combination wrench and allen wrench for precise adjustment.
Begin by loosening the bolts that secure the foot boards to the frame. This step allows you to reposition the foot boards to a whole new location.
Slide the foot boards to your desired position and make sure to align the holes on the foot boards with the corresponding ones on the frame.
Once aligned, tighten the bolts securely using a socket wrench to lock the foot boards in place.
It's crucial to double-check the alignment and stability of the foot boards before hitting the road to ensure a safe and comfortable riding position.
Proper adjustment not only enhances your comfort but also contributes to a better riding experience.
Take the time to adjust the foot board position to suit your preferences and riding style before setting off on your next adventure.
Testing the Foot Boards
To ensure the secure attachment of the foot boards, apply pressure and conduct a thorough wiggle test to check for any loose fittings or bolts.
After replacing the foot boards on your Harley Davidson Tri Glide, it's crucial to test their stability before hitting the road. Here's how you can effectively test the foot boards:
- Apply firm pressure on the foot boards to ensure they're securely attached.
- Wiggle the foot boards back and forth to check for any movement or loose fittings.
- Take the motorcycle for a slow test ride to assess the stability and comfort of the new foot boards.
- Pay close attention to any unusual noises or vibrations coming from the foot boards during the test ride.
Conclusion
As you tighten the last bolt and step back to admire your newly installed footboards on your Harley Davidson Tri Glide, it's like putting the finishing touch on a masterpiece.
The sleek design and enhanced functionality not only elevate the look of your motorcycle but also enhance your riding experience.
Enjoy the smooth ride and stylish appearance that your new footboards bring to your Harley-Davidson touring motorcycle.

