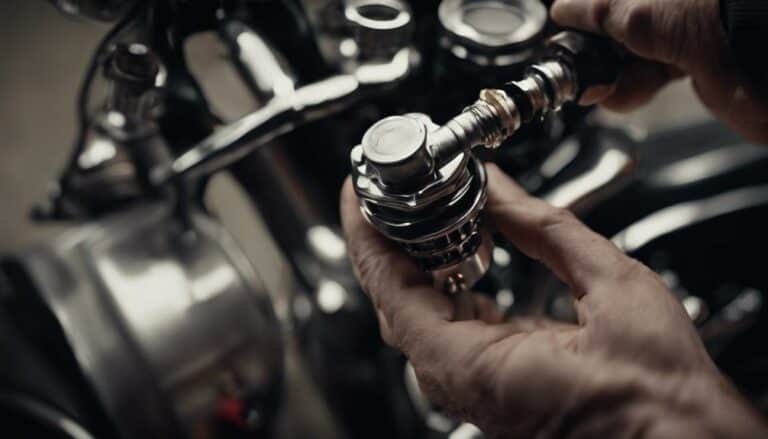
Have you ever wondered how changing the oil in your Harley Davidson air shocks can impact your riding experience? Maintaining the oil levels in your shocks is essential for optimal performance and comfort on the road.
By following a few simple steps, you can ensure that your Harley provides a smooth and controlled ride. From preparing the right tools to refilling with fresh oil, each step plays a crucial role in enhancing your biking experience.
Get ready to elevate your ride by learning the ins and outs of oil changes in Harley Davidson air shocks.
Key Takeaways
- Drain old oil completely for optimal shock performance.
- Carefully remove and reinstall air shocks to prevent damage.
- Refill with new oil using proper tools and techniques.
- Test shock absorbers thoroughly for safety and efficiency.
Drain the Old Oil
To drain the old oil from your Harley Davidson air shocks, begin by preparing the shocks for the process by ensuring they're at a stable working pressure. Check that the average air pressure in the shocks is around 20 psi or less before starting. Utilize a blow gun to pressurize the shock, pushing out the old oil effectively. Repeat this pressurization process until all the oil is drained completely from the shock. Inverting the shock overnight will aid in facilitating oil flow down, making the drainage process more efficient.
Properly draining the old oil from your Harley Davidson air shocks is crucial to maintain optimal performance. By following these steps and ensuring the shocks are pressurized correctly, you're taking the first step towards refreshing your shocks and enhancing your riding experience. Liberating your shocks from old, dirty oil will contribute to smoother rides and improved overall handling. Paying attention to air pressure and drainage techniques is key to achieving a successful oil change process for your Harley Davidson air shocks.
Remove the Air Shocks
If you're ready to proceed, the first step in removing the air shocks from your Harley Davidson is to disconnect the air line fitting using a 7/16' wrench. Locate the air line fitting on the shock and carefully loosen it with the wrench, ensuring not to damage the fitting in the process.
Once the air line fitting is disconnected, proceed by removing the bolts that secure the air shocks to your motorcycle. These bolts are typically located near the top and bottom of the shocks and may require a socket wrench for removal.
After the bolts have been removed, gently detach the air shocks from the Harley Davidson. Be cautious not to force the shocks out, as this could cause damage to your bike. When handling the shocks, keep in mind that they contain oil that needs to be changed, so ensure they're kept upright to prevent oil leakage from the small hole where the air line fitting was disconnected.
Set aside all parts removed for reinstallation after the oil change process is complete.
Refill With New Oil
Efficiently refill your Harley Davidson air shocks with new oil using a Mityvac or syringe. Follow these steps to ensure a smooth and controlled ride. First, make sure you have the correct amount of oil, typically 10 oz, ready for refilling. Use the Mityvac or syringe to carefully insert the new oil into the shock body. To help you visualize, below is a table outlining the steps for refilling your air shocks:
| Refill With New Oil Steps |
|---|
| 1. Prepare 10 oz of new oil |
| 2. Use Mityvac or syringe to fill shock body |
| 3. Ensure good seal with Teflon tape |
| 4. Maintain proper damping and suspension function |
After refilling, it's crucial to secure a good seal using Teflon tape to prevent any leaks. This step is essential to maintain the proper functioning of your shocks. Once you have refilled and sealed the air shocks, you'll be ready to reinstall them for an optimal riding experience.
Reinstall the Air Shocks
After refilling the air shocks with new oil using a Mityvac or syringe, the next step is to securely tighten the nipple on the shock using a 7/16' wrench.
Ensure the shock is clean and free of any debris before putting the right back on the Harley Davidson. Align the shock in its position and insert the bolts carefully. Properly torque the bolts to the manufacturer's specifications to maintain stability and safety while riding.
Adjust the air pressure in the shocks to the recommended level for optimal performance. Once the shocks are securely reinstalled and all bolts are tightened correctly, you're ready to experience a smoother ride on your Harley Davidson.
Reinstalling the air shocks correctly is crucial to ensure they function effectively and provide you with the desired comfort and control during your rides. Remember to double-check all connections and fittings before taking your motorcycle out for a ride.
Test the Shock Absorbers
To conduct a thorough assessment of the shock absorbers, begin by visually inspecting the exterior for any signs of leakage or damage. After this initial check, make sure to:
- Measure the compressed and extended lengths of the shock to ensure they're within specifications.
- Evaluate the rebound and compression damping by bouncing the rear of the motorcycle.
- Inspect the air valve for any signs of wear or leaks that could affect the shock's performance.
Conclusion
Congratulations on successfully changing the oil in your Harley Davidson air shocks!
As you reinstall the shocks and adjust the air pressure, envision the smooth ride ahead.
Like a well-oiled machine, your bike will glide effortlessly on the road, absorbing bumps and vibrations with ease.
Keep up with regular maintenance to ensure peak performance and enjoy the thrill of the ride.

