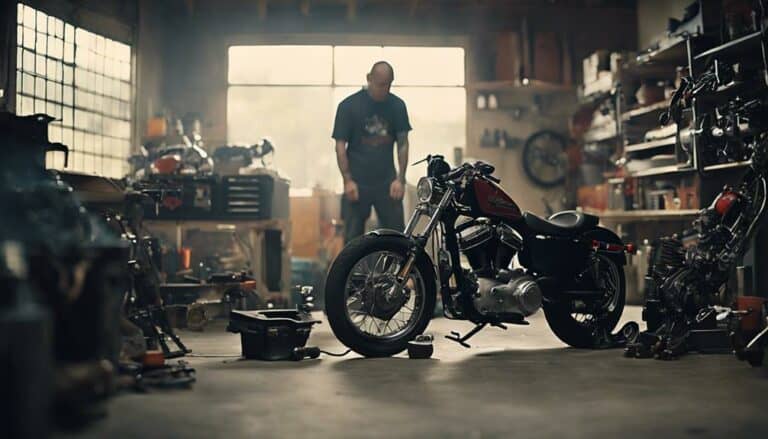
Imagine the transmission of your Harley Davidson Sportster as the heart of your ride, silently powering your adventures on the road. As you embark on the task of replacing it, precision and care are paramount.
From disassembling the gearbox to aligning components with engine holes, each step requires meticulous attention. But what about the nuances of adjusting the fifth gear or ensuring detent wheel stability?
Stay tuned to discover the essential tips and tricks for a seamless transmission replacement process that will keep your Sportster running smoothly for miles to come.
Key Takeaways
- Drain fluids, disconnect battery, and secure motorcycle before transmission replacement.
- Remove old transmission by disconnecting, supporting, and checking connections.
- Install new transmission by aligning, securing, and adjusting components as needed.
- Test ride, confirm smooth operation, check for issues, and document the replacement process for future reference.
Preparing for Transmission Replacement
Before beginning the transmission replacement process for your Harley Davidson Sportster, it's crucial to take the necessary steps to prepare the motorcycle and gather the required tools and materials.
Start by draining the primary and transmission fluids to prevent spillage and contamination. Disconnect the battery to avoid electrical mishaps during the replacement. Securely support the motorcycle on a lift or stand for easy access to the transmission. Ensure you have socket wrenches, torque wrenches, and a service manual on hand for reference. It's essential to gather all the tools before starting the replacement.
Take photographs or make notes of the transmission assembly; this will assist in reassembly and guarantee the correct installation of components. By preparing meticulously, draining the transmission fluids, and having the necessary tools ready, you set the stage for a smooth and successful transmission replacement process.
Removing the Old Transmission
To begin removing the old transmission from your Harley Davidson Sportster, ensure the transmission fluid is completely drained. Follow these steps to successfully remove the transmission:
| Steps to Remove Old Transmission |
|---|
| 1. Drain the transmission fluid completely. |
| 2. Disconnect the shifter linkage and speedometer cable from the transmission. |
| 3. Loosen and remove the mounting bolts securing the transmission to the engine. |
| 4. Support the transmission securely before fully removing it from the motorcycle. |
After draining the fluid and disconnecting the necessary components, carefully detach the transmission from the engine. Make sure to check for any additional connections or components that might still be attached before lifting out the old transmission. By following these steps diligently, you ensure a smooth process of removing the old transmission from your Harley Davidson Sportster, setting the stage for installing the new one effectively in the next steps.
Installing the New Transmission
Align the new gearbox carefully with the specific mounting holes on the engine to ensure a proper fit. Make sure the fifth gear is positioned correctly for smooth engagement. Secure the gearbox in place using the five bolts provided, ensuring a tight and secure attachment. Install the necessary springs according to the manufacturer's specifications to guarantee proper functionality of the gearbox.
Consider upgrading the spring retainer for enhanced security and peace of mind. Double-check all connections and bolts to confirm everything is tightly fastened. Once the gearbox is securely in place, conduct a final inspection to ensure all components are properly aligned and installed.
Installing the new transmission requires precision and attention to detail to avoid any issues during operation. Take your time during this step to guarantee a smooth transition from the old to the new gearbox. Following these steps will help you successfully complete the installation of your Harley Davidson Sportster's new transmission.
Adjusting Transmission Components
Begin by adjusting the fifth gear position for proper engagement during the installation of the new gearbox. Ensure that the gear is aligned correctly to prevent any issues during operation.
Next, focus on gearbox alignment with the specific holes in the engine to guarantee a secure fit. This step is crucial for the overall performance and longevity of the transmission system.
Consider upgrading the spring retainer for improved security and functionality. A high-quality retainer can enhance the stability of the gearbox components.
Properly install and secure the detent wheel to avoid gear skipping problems. The detent wheel plays a vital role in gear selection, so make sure it's correctly positioned and secured.
Lastly, remember to regularly inspect gearbox components for wear and tear. This maintenance routine is essential for keeping the transmission in optimal working condition.
Paying attention to these details will ensure a smooth and efficient transmission system for your Harley Davidson Sportster.
Testing and Final Steps
Ensure that the test ride includes a variety of speed ranges and gear shifts to thoroughly evaluate the transmission's performance and functionality. Start by engaging the gearbox in different gears to confirm smooth shifting operation. Listen for any unusual noises or feel for vibrations that could indicate issues with the transmission.
Shift through the gears at various speeds to assess the overall performance of the new transmission. After the test ride, check all bolts and components to ensure they're securely fastened to prevent any potential hazards. Conduct a final inspection of the gearbox to look for leaks, verify proper alignment, and confirm overall functionality.
Document the replacement process and any adjustments made for future reference. By following these steps, you can ensure that your Harley Davidson Sportster's transmission replacement is successful and that the bike is ready for the road.
Conclusion
In conclusion, replacing a Harley Davidson Sportster transmission requires careful disassembly, installation, and adjustment of components to ensure proper function. By following the steps outlined in this guide, you can successfully replace the transmission and maintain the performance of your bike.
Remember to regularly inspect and upgrade parts as needed to keep your gearbox running smoothly. With attention to detail and precision, you can confidently tackle this maintenance task.

