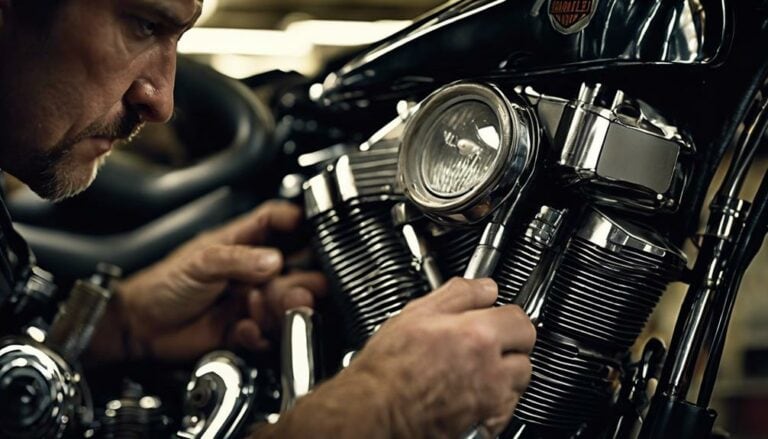
If you've heard the saying, 'Where there's smoke, there's fire,' then checking for an air intake leak on your Harley Davidson is crucial.
Noticing a drop in performance or irregular engine behavior could signal an issue that requires attention.
By understanding the common signs of an air intake leak and utilizing simple diagnostic methods, you can pinpoint the problem and take the necessary steps to keep your ride running smoothly.
Key Takeaways
- Perform preliminary tests with brake cleaner or a torch to detect RPM changes indicating leaks.
- Conduct a visual inspection focusing on intake components for cracks, wear, and loose connections.
- Check and tighten connections following torque specifications to prevent gaps or misalignment.
- Utilize a smoke test with a specialized machine to pinpoint and address air intake leaks effectively.
Gather Necessary Tools
To begin preparing for the air intake leak check on your Harley Davidson, ensure you have a propane torch or brake cleaner ready for the testing process. These tools are essential for detecting any intake leaks efficiently.
Before diving into a detailed inspection, you can perform a quick test to see if there are any obvious leaks. With the bike parked on a level surface, start the engine and let it idle. Then, carefully spray a small amount of brake cleaner around the intake area while listening for any changes in the engine's RPM. If there's a leak, the engine RPM will likely fluctuate as the cleaner is drawn into the intake. This quick test can give you a preliminary indication of potential leaks before moving on to a more thorough inspection with the flashlight.
Inspect Air Intake System
Ensure that the intake manifold, intake boots, clamps, gaskets, seals, and hoses on your Harley Davidson are thoroughly inspected for any signs of damage, wear, or leaks that could affect the air intake system's performance. When conducting a visual inspection of your motorcycle's air intake system, pay close attention to the intake manifold for cracks, damage, or loose connections that may lead to air leaks. Additionally, check the intake boots and clamps for any wear, tears, or deterioration that could indicate a potential air leak issue. The table below summarizes key areas to inspect during your visual examination of the air intake system:
| Component | What to Look For | Possible Issues |
|---|---|---|
| Intake Manifold | Cracks, damage, loose connections | Air leaks |
| Intake Boots | Wear, tears, deterioration | Leaks, reduced performance |
| Clamps | Tightness, signs of damage | Air leaks, improper sealing |
| Gaskets, Seals, Hoses | Wear, cracks, loose fittings | Air leaks, decreased efficiency |
Check for Loose Connections
Inspect all connections between the intake manifold and the cylinder heads for signs of looseness to prevent potential leaks. Loose connections can lead to air intake leaks, affecting the performance of your Harley Davidson.
Here are a few steps to help you check for loose connections:
- Tighten Bolts and Clamps: Ensure that all bolts and clamps securing the intake manifold are tightened properly. Use the manufacturer's recommended torque specifications to avoid over-tightening or under-tightening, which could cause issues with the fuel injection system.
- Check for Gaps or Misalignment: Look for any gaps or misalignment between the intake manifold and the cylinder heads. Even small discrepancies can result in air leaks, impacting the air-fuel mixture and engine efficiency.
- Inspect for Damage: Examine the intake manifold and gaskets for any visible cracks or signs of damage. Damaged components can lead to air intake leaks, affecting the overall performance of your motorcycle.
Perform Smoke Test
After confirming that all connections are secure, the next step in diagnosing an air intake leak on your Harley Davidson involves performing a smoke test.
To conduct the intake leak test, you'll need a smoke machine specifically designed for automotive use. Begin by removing the air filter and sealing off any other openings in the intake system.
Connect the smoke machine to the intake system and pump smoke into it. The smoke will flow through the system and exit through any leaks present. Observe carefully to pinpoint the exact location of the leaks.
Look for smoke escaping from cracks, gaskets, or other areas that indicate air intake leaks. By identifying these leak points, you can proceed to address them effectively.
Repair or replace the affected components to ensure optimal engine performance on your Harley-Davidson motorcycle. This method offers a precise way to detect and resolve air intake leaks efficiently.
Addressing and Fixing Leaks
To effectively address and rectify leaks in the air intake system of your Harley Davidson, a thorough examination of the intake manifold gaskets for cracks, leaks, or misalignment is crucial. Here are some steps you can take to tackle and resolve these issues:
- Inspect Intake Manifold Gaskets: Check for any signs of wear, cracks, or misalignment in the intake manifold gaskets. Replace any damaged gaskets to ensure a proper seal and prevent air leaks.
- Use Propane Torch or Carburetor Cleaner: When the engine is running, use a propane torch or carburetor cleaner to spray around the intake area. Watch for RPM fluctuations, as this could indicate the presence of a leak.
- Check Clamps and Intake System Components: Ensure that all clamps securing the intake system components, such as the throttle body, manifold, and air filter housing, are tight and undamaged. Loose or damaged clamps can lead to air leaks, affecting engine performance.
Conclusion
In conclusion, checking for an air intake leak on your Harley Davidson is crucial for maintaining optimal performance. By conducting thorough inspections and addressing any issues promptly, you can ensure the longevity of your engine and prevent costly repairs down the line.
Remember, a small leak today could lead to major problems tomorrow, so staying proactive is key to enjoying a smooth ride on your Harley Davidson.

