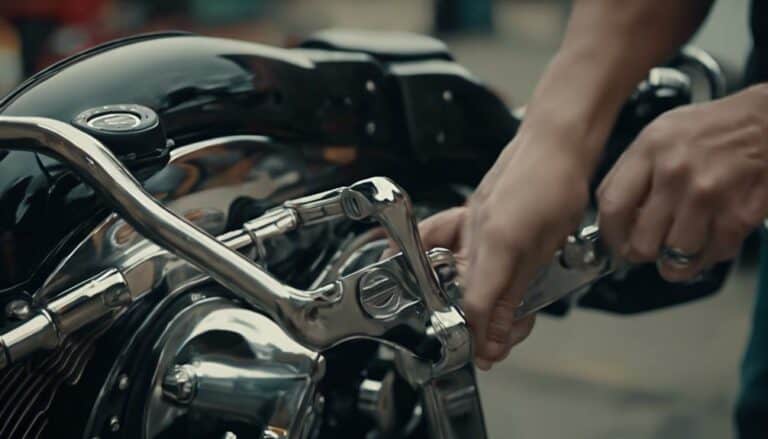
If you've ever felt the need to make a change to your Harley Davidson Ultra Classic's setup, you might have considered removing the backrest.
The process might seem daunting at first, but fear not, as with a few simple steps, you can easily detach the backrest and potentially explore new customization options for your ride.
Understanding the intricacies of this removal could open up a world of possibilities for your motorcycle's aesthetics and functionality.
Key Takeaways
- Use proper tools like a wrench for backrest removal.
- Locate and release the backrest notch on the driver side.
- Safely detach the cushion by removing securing bolts.
- Carefully remove mounting brackets for customization options.
Tools Required for Backrest Removal
To remove the backrest from your Harley Davidson Ultra Classic, you'll need basic hand tools such as a wrench or socket set. Some backrest models may have specific fasteners that require a T25 Torx wrench for removal. Ensuring you have the correct tools before starting the process is crucial for a smooth removal experience.
When considering backrest maintenance or exploring custom backrest options, having the right tools at hand is the first step towards achieving your desired outcome. By being prepared with the necessary tools, you're empowering yourself to make changes to your motorcycle that align with your preferences.
Whether you're looking to upgrade your backrest for enhanced comfort or simply need to perform maintenance, having access to tools like a wrench or socket set will enable you to take control of the situation. Remember, proper tools aren't just for the task at hand but also for your sense of freedom and independence in customizing your Harley Davidson Ultra Classic.
Step-by-Step Guide to Detach Backrest
Locate the release notch on the driver side of your Harley Davidson Ultra Classic to begin detaching the backrest.
Push down on the notch to unlock the backrest from its position on the motorcycle.
Physically release the backrest by pulling it out of its attachment points.
This process allows you the freedom to explore various backrest customization ideas and enjoy the backrest removal benefits.
When you need to reattach the backrest, ensure proper alignment, and securely lock the catch back in place.
Following these steps will enable you to easily detach and reattach the backrest on your Harley Davidson Ultra Classic whenever you desire, whether for customization purposes or maintenance needs.
Experience the liberation of personalizing your ride by mastering the art of removing and reattaching the backrest, opening up a world of customization possibilities for your motorcycle.
Removing Backrest Cushion Safely
If you've successfully detached the backrest from your Harley Davidson Ultra Classic, the next step involves safely removing the backrest cushion. Follow these steps to ensure a smooth process:
- Locate Fasteners: Identify the bolts or screws securing the cushion to the backrest frame.
- Remove Fasteners: Utilize the appropriate tool, such as a wrench or screwdriver, to loosen and take out the fasteners holding the cushion in place.
- Lift Off Cushion: Carefully lift the cushion off the backrest frame once the fasteners are detached, ensuring you don't cause any damage to the cushion or surrounding components.
Remember these backrest maintenance tips to keep your cushion in top condition. Additionally, consider customizing backrest accessories to enhance your riding experience.
After removing the cushion, inspect it for wear or damage, clean it if necessary, and store it in a safe, dry place when not in use to maintain its appearance and functionality.
Detaching Backrest Mounting Brackets
When detaching the backrest mounting brackets from your Harley Davidson Ultra Classic, start by identifying the bolts securing them to the frame of the motorcycle. Use the appropriate tool, like a socket wrench, to carefully unscrew these bolts. Keep track of any washers or spacers to ensure you can reassemble the brackets correctly later on. Removing these brackets opens up a world of backrest customization options, allowing you to tailor the look of your bike to your liking. This modification can have a significant impact on rider comfort, providing a sleeker appearance and potentially enhancing your riding experience.
| Steps to Detach Backrest Mounting Brackets | Emotional Impact |
|---|---|
| Identify bolts securing brackets | Liberation |
| Unscrew bolts with appropriate tool | Freedom |
| Keep track of washers and spacers | Empowerment |
Finishing Touch: Backrest Removal Confirmation
Confirm the secure attachment of the backrest by ensuring the catch is properly locked in place after disengaging it from the release notch. Once you have completed the backrest removal process, follow these steps to ensure everything is in order:
- Check the Catch: Verify that the catch is securely locked in place to prevent any potential issues during reinstallation.
- Inspect Alignment: Confirm that the backrest is aligned correctly to avoid stability or functionality problems later on.
- Reassess Stability: Perform a gentle shake test to ensure the backrest is firmly attached before riding.
Conclusion
Congratulations! You have successfully removed the backrest from your Harley Davidson Ultra Classic. Now, are you ready to hit the road with a sleeker look and enhanced comfort?
Keep in mind the steps for easy reinstallation whenever needed.
Ride on with confidence knowing you can easily adjust and maintain your backrest for optimal performance.

