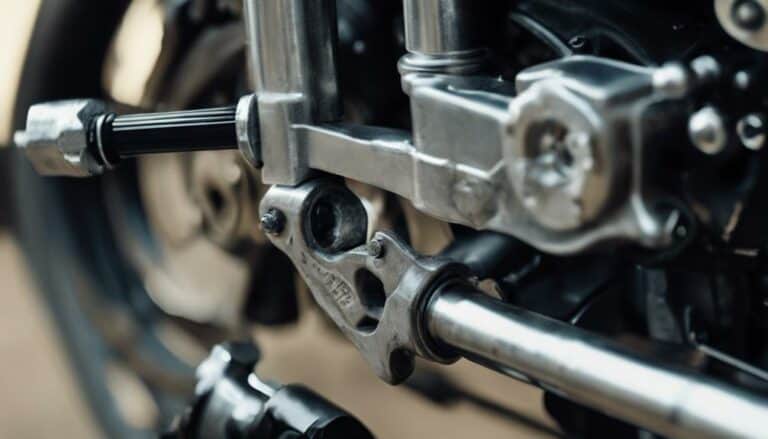
When it comes to depressing Harley Davidson calipers, the correct positioning of the brake piston is crucial for effective compression.
The process involves more than meets the eye. Understanding the intricacies of this task is vital to ensure the safety and performance of your motorcycle.
Explore the nuances involved in this procedure to guarantee a smooth and successful caliper depression.
Key Takeaways
- Use proper tools like C-clamps for even caliper compression.
- Ensure full retraction of pistons for new brake pad installation.
- Check brake fluid levels and reservoir condition before and after depression.
- Inspect caliper components for damage and leaks post-depression.
Tools Required for Caliper Depression
To effectively compress Harley Davidson caliper pistons, the recommended tools include wood or composite shims. These shims play a crucial role in the compression process, ensuring that the caliper pistons are depressed evenly and without causing damage. By placing the shims strategically, you can apply pressure to the pistons in a controlled manner, allowing for smooth compression.
Proper compression of the caliper pistons is essential for maintaining optimal brake function. When using wood shims, make sure they're positioned correctly to avoid any interference with the rotor. This precaution will prevent damage to the rotor during the compression process.
Before beginning the compression, it's important to remove the cap from the master cylinder. This step is necessary to allow the hydraulic fluid to flow back into the master cylinder as the pistons are compressed. By following these steps and using the recommended tools, you can effectively depress the Harley Davidson caliper pistons and ensure proper brake function.
Preparing the Calipers for Depression
Prepare the calipers for depression by ensuring the master cylinder cap is removed to prevent pressure build-up. This step is crucial to avoid any complications during the process.
Utilize a C-clamp or a specialized caliper compression tool to gently push the caliper pistons back into the housing. Remember to exert even pressure distribution to prevent any damage or misalignment of the pistons.
It's essential to verify that the caliper pistons are fully retracted and properly aligned with the brake pads before proceeding with reassembly. Additionally, inspect the caliper seals and components for any signs of wear or damage as part of the preparation process.
This thorough examination ensures optimal brake performance after the depression process. By following these steps meticulously, you'll be ready to proceed with the next stages of depressing the Harley Davidson calipers effectively and efficiently.
Step-by-Step Caliper Depression Process
Examine the compressed caliper piston for proper alignment with the brake pads before proceeding with reassembly. Use a C-clamp or old brake pads to compress the Harley Davidson caliper piston gently and evenly. Ensure the piston is fully retracted to allow for easy installation of new brake pads.
Remember to check brake fluid levels and reservoir condition after depressing the caliper piston. To avoid damaging the piston, utilize a wood buffer while compressing it. Following these steps meticulously will lead to successful caliper depression.
Once the piston is compressed correctly, proceed with the installation of new brake pads. Pay close attention to the alignment of the piston with the brake pads to guarantee optimal brake performance. This methodical approach ensures a smooth and efficient caliper depression process, setting the stage for safe and effective braking on your Harley Davidson motorcycle.
Tips for Efficient Caliper Depression
Efficiently compress the Harley Davidson caliper piston using either a C-clamp or old brake pads to ensure smooth brake pad installation. To assist you further, follow these tips for efficient caliper depression:
| Tip | Description |
|---|---|
| Use a C-clamp | Place the C-clamp over the caliper piston and slowly tighten to compress the piston evenly. |
| Utilize old brake pads | Position the old brake pads against the piston and apply pressure to push it back into place. |
| Check for leaks | After compression, inspect for any brake fluid leaks to prevent potential braking issues. |
Remember to maintain brake fluid levels and use a wood buffer to protect the piston during compression. By following these step-by-step instructions meticulously, you can successfully depress the Harley Davidson caliper without any hassle.
Maintenance After Caliper Depression
Upon completing the depression of Harley Davidson calipers, ensure thorough maintenance to guarantee optimal braking performance and safety. To achieve this, follow these essential steps:
- Inspect Brake Pads: Reinstall brake pads properly to ensure effective braking performance post-caliper depression.
- Check Brake Fluid: Verify brake fluid reservoir levels and top up if necessary to maintain the hydraulic system's functionality.
- Examine Caliper Components: Inspect caliper components for any damage or wear after compression to ensure safe operation.
Completing these maintenance tasks will help in ensuring the calipers function correctly. After the maintenance, conduct a test ride to confirm the calipers' proper operation. This systematic approach will contribute to the longevity of the calipers, the efficiency of the hydraulic system, and ultimately, the safety of your riding experience.
Conclusion
Congratulations on successfully depressing your Harley Davidson calipers! Remember, proper maintenance is key to ensuring your brakes function effectively.
Just like pushing down on the calipers, take the time to push yourself to prioritize safety and maintenance.
Because when it comes to your ride, stopping is just as important as going.
Keep those calipers depressed and your ride smooth.

