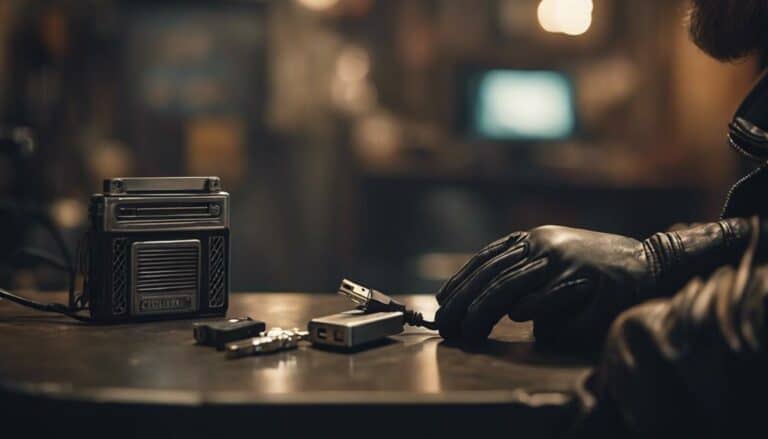
If you're looking to flash your Harley Davidson radio, precision is paramount. Unraveling the intricacies of this process requires meticulous attention to detail and the right tools in hand.
But before you dive into the technicalities, there are crucial considerations to ponder. From selecting the appropriate flashing tool to navigating through the myriad of radio flashing goals, each step holds significance.
So, let's embark on this journey together, where every adjustment and choice shapes the ultimate audio experience on your Harley Davidson.
Key Takeaways
- Utilize TechnoResearch device for flashing Harley radios efficiently.
- Set specific goals for radio customization and enhanced audio.
- Follow step-by-step guide for successful flashing process.
- Opt for compatible sound processor for optimal audio performance.
Radio Flashing Tool Overview
To flash the stock radio on your Harley Davidson bike, the essential tool you need is the TechnoResearch device. This tool is specifically designed to cater to the unique requirements of Harley Davidson radios, ensuring a seamless flashing process. The TechnoResearch tool is a one-time use device, and the cost can be refunded upon its return, making it a convenient option for users. It's crucial to check Volunteer Audio's website for a list of specific Harley Davidson models that are compatible with the TechnoResearch tool to avoid any compatibility issues.
For detailed guidance on the installation process, TechnoResearch provides comprehensive instructions on their YouTube channel. Following these step-by-step instructions is essential to successfully flash your Harley Davidson radio and enable features like CarPlay functionality to work optimally. With the TechnoResearch tool in hand, you can take control of your Harley Davidson radio's firmware, unlocking its full potential and enhancing your riding experience.
Setting Your Radio Flashing Goals
Setting your radio flashing goals involves determining the specific functionalities you aim to enhance or customize within your Harley Davidson radio system. Whether it's enabling the fader ability for adjusting audio signal levels, customizing settings for aftermarket gear, activating Apple CarPlay, ensuring proper audio output, or enhancing the overall audio experience, setting clear objectives is crucial.
Understanding the purpose of flashing is key to achieving your desired outcomes in the audio system. Utilizing tools like the Harley radio flash kit can help you reach these goals efficiently. Proper loading and balancing of the radio is essential not only to prevent failures but also to optimize audio system performance.
Your radio flashing goals may vary based on your individual preferences and the specific setup of your audio system. By establishing precise targets, you can tailor the flashing process to meet your unique requirements and maximize the potential of your Harley Davidson radio.
Simplified Step-by-Step Flashing Guide
Begin by connecting the TechnoResearch flashing tool to your computer and the Harley Davidson radio for flashing. To initiate the process, utilize the Rockford Fosgate flash profile, enabling you to customize multiple settings for optimal performance.
During the flashing procedure, ensure to activate rear speaker output, analog fade function, and tone controls. This step is crucial for tailoring the audio experience to your preferences.
Load the EQ curves and fine-tune the audio signal levels to enhance the overall sound quality. Follow the detailed step-by-step instructions provided to guarantee a successful and personalized radio flash for your Harley Davidson.
Choosing the Right Sound Processor
When selecting a sound processor for your Harley sound system, prioritize compatibility, reliability, and fit to optimize audio performance and customization capabilities. Here are some key factors to consider:
- Compatibility: Ensure that the sound processor you choose is compatible with your Harley Davidson radio and other audio components to avoid any issues with installation and functionality.
- Reliability: Opt for a sound processor from a reputable brand known for producing reliable and durable products to ensure longevity and consistent performance.
- DSP Unit: Consider investing in a sound processor with a Digital Signal Processor (DSP) unit, as it can significantly enhance sound quality and provide advanced tuning capabilities for your Harley audio system.
- Features: Look for sound processors that offer features like EQ settings, signal processing tools, and channel controls to fine-tune your audio output and tailor it to your preferences.
Next Steps After Flashing Your Radio
After flashing your Harley Davidson radio, ensure all audio settings are correctly configured for optimal performance. Start by verifying that the EQ settings match your preferences for bass, treble, and balance. Test features like Apple CarPlay to confirm successful activation post-flashing.
Additionally, check for any available firmware updates or patches that could further enhance your radio's performance. Adjust audio levels to your liking to enjoy a customized listening experience. Double-check all connections to guarantee seamless integration between components.
By meticulously fine-tuning your audio settings after flashing, you can maximize the potential of your Harley Davidson radio and elevate your riding experience. Remember, attention to detail in configuring audio settings can make a significant difference in the quality of sound produced.
Take the time to ensure everything is set up correctly, and enjoy the optimal audio performance your Harley Davidson radio can deliver.
Conclusion
In conclusion, flashing your Harley Davidson radio is a crucial step in optimizing your audio experience. By using the right tools and following a detailed process, you can achieve your desired audio settings and compatibility with aftermarket equipment.
Remember, taking the time to flash your radio properly now will ensure a smoother ride with top-notch sound quality down the road. So, gear up, tune in, and ride on with your newly flashed radio!

