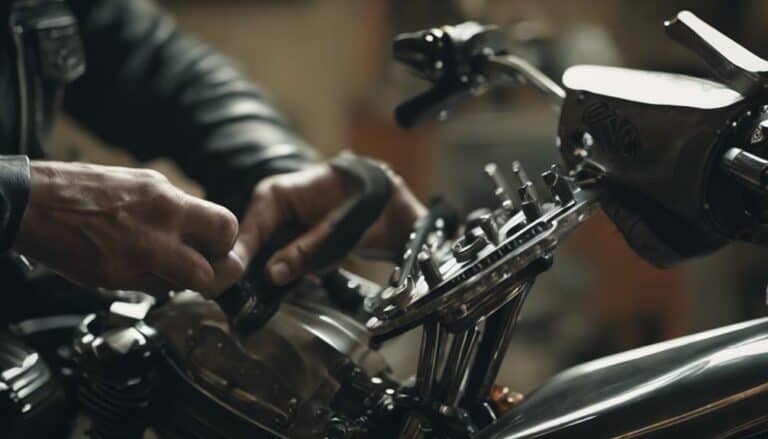
If you've ever wondered about the intricate process of dismantling the front rim of your Harley Davidson, the key lies in meticulous attention to detail and precision. From disassembling the brake components to inspecting the wheel bearings and spokes, each step plays a crucial role in maintaining the integrity of your motorcycle.
However, the most critical part is yet to come, where a small mistake could lead to significant repercussions. Mastering the art of front rim disassembly requires patience and a steady hand, so let's explore this intricate task further.
Key Takeaways
- Properly remove front wheel components for disassembly.
- Carefully disassemble brake components for inspection.
- Take apart the rim with attention to detail.
- Inspect, clean, and maintain each part for optimal performance.
Tools Required for Disassembly
To disassemble the front rim of a Harley Davidson, you'll need a socket wrench set, Allen keys, a torque wrench, and a jack or stand for support. Proper tool organization is essential for efficiency. Lay out your tools in an organized manner to avoid fumbling or misplacing them during the process.
When selecting the socket wrench set, ensure it has sockets of various sizes to fit the different nuts and bolts on the front wheel assembly. Use Allen keys to remove specific bolts securing components like the brake caliper or axle. A torque wrench is critical for tightening the axle nut accurately to the manufacturer's specifications during reassembly, preventing over-tightening or under-tightening.
Safety precautions are paramount; always wear appropriate gear like gloves and safety goggles. Troubleshooting tips include checking all tools before starting to ensure they're in good condition, as damaged tools can lead to errors or accidents. By following these maintenance tips, you can smoothly disassemble the front rim of your Harley Davidson.
Removing the Front Wheel
Loosen the axle nut on the front wheel using the appropriate size socket or wrench, ensuring it's done securely to prepare for wheel removal.
With the axle nut loosened, use a motorcycle jack to support the front end of the bike, providing stability during the wheel removal process.
Next, disconnect the brake caliper from the fork leg to allow the wheel to slide out easily.
Carefully slide out the axle from the wheel hub and front forks without causing any damage. This step is crucial to maintain proper wheel alignment when reassembling the front wheel.
Once the axle is removed, lower the front wheel carefully from the motorcycle frame. If you're planning on tire replacement, this would be the perfect time to address it while the wheel is off.
Disassembling the Brake Components
Carefully detach the brake caliper mounting bolts using the appropriate tools to begin disassembling the brake components. Once the bolts are loosened, remove the caliper from the brake rotor and ensure it's securely hung to prevent any strain on the brake line. Take this opportunity to inspect the brake pads for wear and replace them if needed before proceeding with the disassembly. It's crucial to handle all brake components with care to avoid damage or contamination during this process.
Next, after the caliper is safely removed, you can move on to disassembling the brake rotor from the front wheel hub. This step is essential for tasks such as brake caliper maintenance and brake fluid replacement. By following these steps meticulously, you ensure that the brake components are properly maintained and that your Harley Davidson front rim is disassembled correctly. Remember that attention to detail at this stage will contribute to a smoother reassembly process later on.
Taking Apart the Rim
Inspect the rim closely for any signs of damage, corrosion, or wear that may necessitate maintenance or replacement.
Before proceeding, ensure the axle nut is loosened using the correct socket or wrench, allowing you to release the front wheel.
Next, remove the brake caliper by unscrewing the mounting bolts and carefully placing it aside.
Slide out the axle from the wheel hub and front forks to free the wheel, ensuring the front wheel is adequately supported to prevent accidents once the axle is removed.
When disassembling the rim, consider utilizing rim polishing techniques to enhance its appearance and durability.
Additionally, pay attention to wheel alignment tips to ensure proper functioning and safety upon reassembly.
Inspecting and Cleaning the Parts
After disassembling the front rim of your Harley Davidson by following the steps outlined in the previous subtopic, proceed to thoroughly inspect and clean the various parts to ensure optimal performance and longevity.
Start by examining the rim surface for any cracks, dents, or signs of corrosion that could impact performance. Next, inspect the spokes for tightness and signs of damage or bending, ensuring they're in good condition to maintain wheel integrity.
To clean the rim effectively, use a mild soap and water solution to remove dirt, grime, and brake dust buildup. Employ a soft brush or cloth to delicately scrub the rim surface and spokes, focusing on difficult-to-reach areas. Once cleaned, ensure the rim is completely dry to prevent water spots or corrosion.
Consider applying a protective coating to enhance durability and maintain the rim's appearance. Regular rim maintenance and spoke inspection are crucial for a safe and smooth riding experience on your Harley Davidson.
Conclusion
Now that you've successfully disassembled the front rim of your Harley Davidson, it's time to put everything back together.
Remember, a job worth doing is worth doing right. So, tighten those bolts, check those alignments, and make sure your ride is ready to hit the open road.
Just like greasing the wheels of progress, your attention to detail will ensure a smooth and safe journey ahead.

