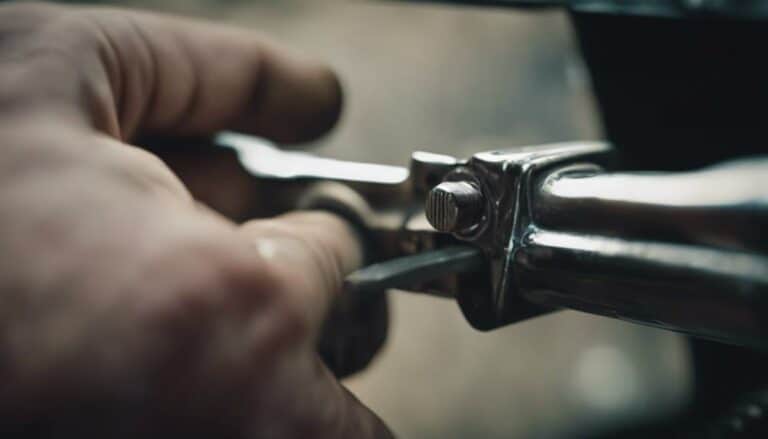
If you've ever struggled with a loose Harley Davidson mirror, you might not be aware of the straightforward fix that could save you time and money.
By following a few simple steps, you can address the issue of a wobbly mirror without the need for specialized tools or professional assistance.
Stay tuned to discover a practical solution that will have you back on the road with confidence in no time.
Key Takeaways
- Check ball and socket joint for security to fix loose Harley Davidson mirror.
- Use heat gun and channel locks for tightening the mirror mounting.
- Reposition mirror for optimal visibility and secure mount to prevent loosening.
- Test mirror stability by adjusting angles and shaking bike gently.
Identifying the Loose Mirror Issue
To identify the loose mirror issue on your Harley Davidson, begin by examining the ball and socket joint attachment method for potential problems. Check the joint connection between the mirror and the bike, ensuring it's securely fastened. Shake the mirror gently to see if there's any excessive movement. It's crucial to do this every time before riding to prevent any accidents caused by a loose mirror.
If you notice any wobbling or shaking, it's time to investigate further. Heat the mirror to soften the hot glue holding it in place, allowing for easy removal of the glass. Once the glass is off, inspect the backing plate for any attachment issues like stripped rivets. Repair any loose mounts by squeezing and crimping the backing plate to secure the mirror firmly in place.
Gathering the Necessary Tools
After identifying the loose mirror issue on your Harley Davidson, the next step is to gather the necessary tools for the repair. Make sure to have a heat gun, channel locks, and a punch and hammer at hand. Additionally, prepare hot glue and a replacement rivet in case they're needed during the fix. Remember to use caution and wear protective gear when handling the heated mirror.
Keep a cloth nearby to protect yourself and the mirror during the repair process. Organize your workspace efficiently to have easy access to tools and create a safe environment for working on the mirror. Prioritize safety precautions and handle the mirror carefully to prevent any damage.
Tightening the Mirror Mounting
Using channel locks, firmly crimp the backing plate behind the ball and socket joint to secure the mirror mounting. Ensure the backing plate is securely squeezed to prevent it from coming off. Check the mount to confirm it's tight and stable before reattaching the mirror. This step is crucial to fixing mirror vibration issues.
Once the backing plate is secure, proceed to align the mirror correctly to avoid visibility problems. Tightening the mirror mounting will also aid in troubleshooting any shaking or movement while riding.
After tightening, seal the mirror back in place using hot glue for a secure attachment. Allow the hot glue to dry completely before using the mirror. By following these steps, you can effectively address loose mirror issues on your Harley Davidson, ensuring a safer and more enjoyable ride.
Adjusting the Mirror Position
For precise mirror adjustment on a Harley Davidson, begin by locating the ball and socket joint where the mirror attaches to the bike. Follow these steps for optimal mirror alignment, visibility, and safety:
- Softening the adhesive: Use a heat gun to soften the hot glue securing the mirror in place. This will allow for easier adjustment without damaging the mirror or the bike.
- Repositioning the mirror: Gently adjust the mirror to the desired angle or height for improved visibility. Ensure it's securely positioned before allowing the glue to set again.
- Securing the mirror: Check the tightness of the mount to make sure the mirror is firmly attached. Make any necessary adjustments to prevent future loosening while riding.
- Safety inspection: Regularly inspect the mirror to ensure it remains securely fixed in the adjusted position. This is crucial for safe riding and maintaining awareness of your surroundings.
Testing the Mirror Stability
To evaluate the stability of the mirror, conduct tests by adjusting it to various angles and gently shaking the bike to observe its ability to remain in place. This ensures that the mirror stays secure during your rides and doesn't pose a safety risk. Look for any wobbling or movement of the mirror while riding, as this could indicate the need for repairs. Pay attention to any unusual noises or vibrations coming from the mirror while on the road, as these can also signal instability. Confirm that the mirror stays in the desired position without constant readjustment to maintain visibility.
| Mirror Troubleshooting Tips | Mirror Stability Techniques |
|---|---|
| 1. Adjust mirror angles | 1. Gently shake the bike |
| 2. Check for wobbling | 2. Listen for unusual noises |
| 3. Look for movement | 3. Confirm stability |
| 4. Note any vibrations | 4. Ensure no constant adjustment |
| 5. Test during rides | 5. Maintain visibility |
Conclusion
In conclusion, fixing a loose Harley Davidson mirror with a ball and socket joint is a simple and cost-effective solution that can be done at home.
While some may be hesitant to use hot glue for the repair, it's a reliable method that ensures a secure attachment.
By following the steps outlined in this article, you can easily tighten your mirror mount and enjoy a stable ride without any worries.

