Have you ever wondered if your Harley Davidson starter is causing issues with your bike's ignition? Understanding how to properly test your starter motor could be the key to diagnosing potential problems and saving you time and money on unnecessary repairs.
By following a few simple steps and using the right tools, you can effectively assess the condition of your Harley's starter system.
So, are you ready to learn how to troubleshoot your starter and ensure your ride starts smoothly every time?
Key Takeaways
- Locate and identify the starter on your Harley for accurate testing.
- Use a multimeter and fully charged battery to test starter motor functionality.
- Understand the role of the starter relay in starting your motorcycle.
- Troubleshoot common starter issues like gear wear or engagement problems promptly.
Tools Needed for Testing
To properly test a Harley Davidson starter, you'll need a fully charged 12V battery source. The starter motor is a crucial component responsible for initiating the engine's rotation.
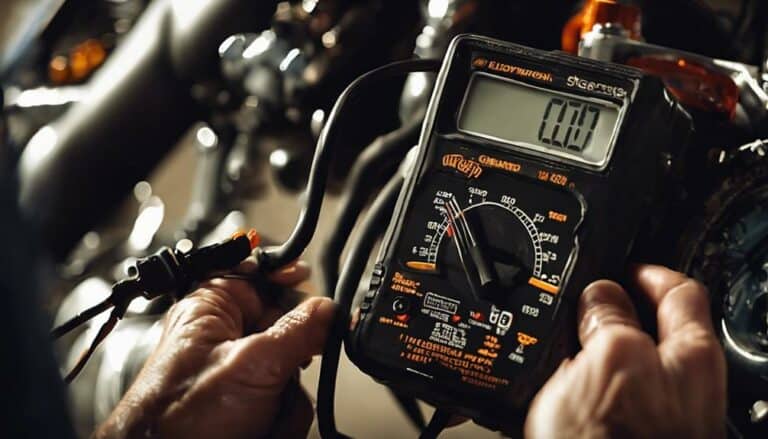
Begin by ensuring the battery source is at the required voltage level to accurately assess the starter's functionality. A multimeter becomes a valuable tool at this stage, allowing you to measure the voltage and check the continuity of the starter motor components.
Should the readings fall outside the manufacturer's specified range, it may indicate a fault within the starter motor. In such cases, a wrench or socket set will be necessary to carefully remove the starter motor for further inspection.
Prioritize safety by wearing goggles and gloves to mitigate any potential electrical risks during this process. Following the manufacturer's manual diligently provides the precise steps needed to conduct a comprehensive test on the starter motor, leading to a liberating sense of clarity regarding your Harley Davidson's performance.
Locating the Starter on Your Harley
Located on your Harley Davidson, the starter is typically situated on the right side of the engine, close to the transmission. When locating the starter, consider these key points:
- Look for a cylindrical unit with wires connected to it, often mounted low on the engine case.
- Soft tail models may have the starter on the left side, near the primary drive.
- On Touring models, the starter may be behind the primary cover, necessitating removal for access.
- Identifying the starter location is crucial for troubleshooting and testing procedures.
Understanding the precise location of the starter on your Harley is essential for effective maintenance and testing. By knowing where to find the starter, you can efficiently carry out any necessary checks or repairs. Whether it's on the right side near the transmission or on the left side for soft tail models, being aware of this information empowers you to confidently work on your Harley's starter system.
Testing the Starter Motor
When testing the starter motor on your Harley Davidson Heritage Classic, ensure a fully charged 12V battery source is connected to the correct terminal post for the test.
Ground the negative lead securely on a bolt to create a good arcing effect for the test.
Before testing, make sure the starter motor shaft is free from any obstructions. This step is crucial to prevent damage during the test.
A successful test will confirm the starter motor is in good condition and functioning properly.
Regular testing and maintenance are essential to prevent issues with gear wear, clutch engagement, and other common starter motor problems that may arise.
Analyzing Starter Relay Function
The starter relay on Harley Davidson motorcycles functions as an essential electrical switch within the starter motor unit. When analyzing the starter relay function, consider the following:
- Location: The starter relay is situated within the starter motor unit, playing a crucial role in the starting process.
- Control of Current: It acts as a switch that governs the flow of electrical current from the battery to the starter motor, ensuring a controlled start-up.
- Signal Engagement: Upon turning the ignition key, the starter relay receives a signal to engage the starter motor, initiating the starting sequence.
- Preventing Issues: A well-functioning starter relay is vital for providing power to the starter motor, especially in big twin Harley models.
Understanding how the starter relay operates is key to diagnosing starting problems efficiently. By comprehending its function and potential issues, you can troubleshoot effectively and ensure your Harley Davidson big twin starts smoothly.
Troubleshooting Common Starter Issues
To effectively troubleshoot common starter issues on your Harley Davidson motorcycle, begin by inspecting for gear wear, wire or armature failure, and clutch engagement problems. Pay close attention to any unusual grinding or clicking sounds, as these may indicate problems with the Spragg gear assembly.
It's essential to note that Softail and Touring models could have different starter motor engagement designs, influencing how they behave during operation. When conducting a starter motor inspection, be aware that issues with the Spragg gear assembly might be the cause rather than a fault within the motor itself.
Regularly testing the starter motor can help identify potential problems early on, ensuring the proper functioning of your motorcycle. By staying vigilant and addressing any issues promptly, you can maintain the performance and reliability of your Harley Davidson, especially in Touring models where starter motor engagement plays a crucial role.
Conclusion
In conclusion, testing a Harley Davidson starter is crucial for ensuring its proper functionality and diagnosing any potential issues. Just like a well-oiled machine, regular maintenance and testing can help keep your starter motor running smoothly and efficiently.
By following the correct procedures and using the right tools, you can easily identify any problems and address them before they become major issues. Remember, a little testing now can save you a lot of headaches later on.

