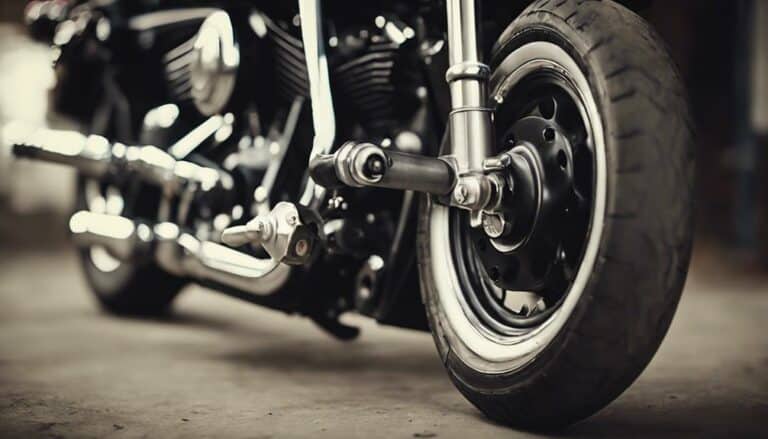
If you've been feeling like your Harley Davidson is riding a bit high, it might be time to bring it down a notch. Lowering the suspension can transform your biking experience, but where do you start?
Understanding the process and the tools needed is key, but there's more to it than just a quick fix. Stick around to uncover the steps for lowering your Harley and the adjustments required to ensure a safe and smooth ride.
Your Harley could soon be cruising at the perfect height for you.
Key Takeaways
- Lowering suspension enhances ride stability, control, and maneuverability.
- Tools like a lift, socket set, torque wrench, and stand are essential.
- Adjust suspension settings incrementally for optimal comfort and performance.
- Test ride post-adjustment to evaluate handling, responsiveness, and ground clearance.
Reasons to Lower Your Suspension
Lowering your Harley Davidson suspension enhances ride stability and control, particularly beneficial for riders with shorter inseams.
On a touring bike, having the suspension set lower can significantly improve handling and maneuverability, allowing you to navigate tight turns and corners with ease.
This adjustment also makes it more comfortable for you to reach the ground when stopping or parking, enhancing your overall riding experience.
Tools Needed for the Job
To facilitate the process of lowering your Harley Davidson suspension, you will need specific tools including a jack or lift, socket set, torque wrench, and possibly a motorcycle stand. These tools are essential for ensuring the safe and effective modification of your bike's suspension system. Below is a table detailing the tools required for this task:
| Tools | Description | Purpose |
|---|---|---|
| Jack or Lift | Raises the bike for access to suspension components | Essential for accessing suspension components |
| Socket Set | Various sizes for removing and installing bolts | Required for working on suspension bolts |
| Torque Wrench | Ensures bolts are tightened to manufacturer's specs | Maintains safety and performance of the bike |
| Motorcycle Stand | Stabilizes the bike during suspension adjustments | Adds convenience and safety during the process |
Remember to adhere to safety precautions, use the proper equipment, and consider seeking expert advice if needed to ensure a successful suspension modification.
Steps to Lowering Your Harley
If you have secured the necessary tools, proceed by identifying the type of shock on your Harley to determine the correct lowering link size. Lowering your Harley can provide benefits like improved stability and easier handling, especially for riders with shorter inseams.
To start the installation process, support the motorcycle frame securely before removing the existing shock hardware. Once the old hardware is removed, attach the new lowering link to the swing arm mounts, ensuring proper alignment and clearance. Remember to tighten all bolts to the factory torque specifications to maintain structural integrity.
Common mistakes to avoid include not double-checking for any interferences or obstructions before test riding the bike. Ensuring there are no issues will guarantee your safety and the optimal performance of your Harley after lowering the suspension.
Lowering your Harley correctly can enhance your riding experience, so take the time to do it right.
Adjusting the Suspension Settings
Turning the suspension preload adjustment knob or screw on your Harley Davidson shock absorber allows you to make necessary adjustments for optimal stiffness. Using a spanner wrench or a suitable tool, you can turn the preload adjustment clockwise to increase stiffness or counterclockwise to decrease it.
Small incremental adjustments are recommended to fine-tune the suspension settings. Testing the bike after each adjustment is crucial to evaluate the impact on handling characteristics, ride comfort, and overall suspension performance.
Referring to the owner's manual for specific instructions tailored to your Harley Davidson model is essential to ensure proper adjustments. By properly adjusting the suspension settings, you can enhance ride quality, improve handling, and customize the comfort level to suit your preferences.
Experimenting with different settings will allow you to find the perfect balance that delivers the desired ride experience tailored to your needs.
Testing and Riding After Lowering
Conduct a thorough test ride in a safe environment to evaluate the handling and comfort of your Harley Davidson after lowering the suspension.
- Handling Assessment: Pay close attention to how the bike responds to your inputs, including changes in responsiveness, cornering ability, and overall stability.
- Comfort Evaluation: Monitor the comfort level of the ride, ensuring that the lower suspension doesn't compromise your comfort or create any discomfort during longer rides.
- Ground Clearance: Maintain awareness of the ground clearance to prevent the bike from bottoming out on bumps or dips in the road, which could impact the overall safety and performance.
- Adjusted Riding Style: Make necessary adjustments to your riding style to accommodate any differences in the bike's performance post-lowering, ensuring a smooth and controlled riding experience.
Conclusion
Congratulations, you have successfully lowered your Harley Davidson suspension!
Now, revel in the newfound stability and control as you cruise the streets with ease.
Remember, safety always comes first, so make sure to test your bike thoroughly before hitting the road.
Embrace the lowered ride height and enjoy the improved handling, but always ride responsibly.
Happy riding, and may your lowered suspension bring you endless miles of smooth and safe journeys.

