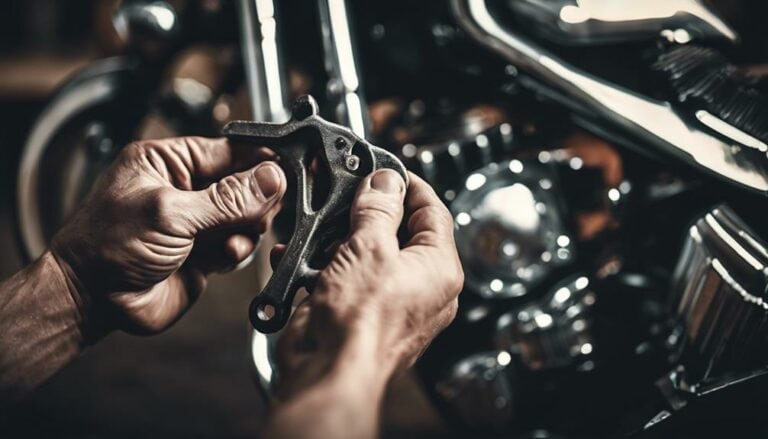
When it comes to maintaining your Harley Davidson, ensuring the smooth operation of your shift linkage is crucial. Imagine effortlessly gliding through gears without a hitch.
To achieve this, knowing how to replace the linkage is paramount. From selecting the right tools to fine-tuning adjustments, each step plays a vital role in optimizing your riding experience.
Stay tuned to discover the key elements in this process that will elevate your Harley's performance and reliability.
Key Takeaways
- Properly prepare and inspect old linkage for wear and damage.
- Install and secure the new linkage following torque specifications.
- Adjust to stock length and fine-tune for optimal shifting.
- Test functionality and maintain linkage for long-lasting performance.
Preparing the Necessary Tools
To prepare for replacing the Harley Davidson linkage, gather essential tools like a socket set, torque wrench, and pliers. Ensuring you have the correct size sockets and wrenches is crucial for efficiently fitting the bolts on the linkage. Additionally, consider using thread locker to secure the bolts in place during installation; this simple step can prevent future issues and potentially save you additional costs.
Having a clean work area and proper lighting will greatly facilitate the replacement process. It's essential to keep track of all removed parts to avoid confusion during installation. Following a systematic approach will make the replacement smoother and more manageable. By being organized and methodical, you can't only accomplish the task at hand effectively but also gain a sense of liberation knowing you have the skills and knowledge to maintain your Harley Davidson.
Removing the Old Linkage
Loosen the bolts connecting the old linkage to the transmission and shifter, ensuring to disconnect any retaining clips or pins holding it in place carefully. Once the bolts are removed, gently detach the old linkage from the motorcycle, taking care not to damage any surrounding components. Inspect the old linkage thoroughly for signs of wear, damage, or any issues that may need attention. This is a crucial step to ensure optimal performance when installing the new linkage. As you remove the old linkage, make sure to keep track of all the hardware and components to guarantee a smooth reassembly process later on.
After removing the old linkage, take the time to clean the surfaces where the new linkage will be installed. Ensure that all areas are free from dirt, debris, and old lubricant residue. This will help promote a secure and effective connection when installing the replacement. Additionally, consider lubricating any parts that may require it to enhance the operation and longevity of the new linkage. Proper maintenance during this phase will contribute to a successful replacement process.
Installing the New Linkage
Prepare the motorcycle by ensuring the surfaces are clean and ready for the precise installation of the new linkage. To successfully install the new linkage, follow these key steps:
- Adjust the Length: Before attaching the new heim joint linkage, adjust it to match the stock length. This ensures a precise fit that's essential for optimal performance.
- Secure Attachment: Utilize appropriate tools to securely attach the new linkage to the motorcycle. Properly securing the linkage is crucial for safety and functionality.
- Follow Torque Specifications: When tightening the bolts that connect the new linkage, adhere to the manufacturer's recommended torque specifications. This step is vital to prevent over-tightening or under-tightening, which could lead to issues during operation.
Adjusting the Linkage
Ensure the linkage on your Harley Davidson is adjusted to the correct length for optimal shifting performance. Proper adjustment guarantees smooth and precise gear changes, enhancing your riding experience. Fine-tuning the linkage post-installation may be necessary to achieve the desired shifting feel. Incorrect adjustments can lead to difficulties in shifting gears or missed shifts, affecting the overall performance of your motorcycle. Always adhere to the manufacturer's guidelines for linkage adjustment to ensure the proper functioning of your Harley Davidson.
—
| Common Issues | Adjusting Tension | Lubricating Components |
|---|---|---|
| Difficulty shifting gears | Check and adjust tension screws as needed | Apply lubricant to pivot points |
| Missed shifts | Verify linkage alignment | Ensure proper lubrication of moving parts |
| Stiff shifting | Fine-tune tension for optimal performance | Use recommended lubricants for longevity |
| Loose linkage | Tighten or loosen tension as required | Regularly inspect and maintain lubrication |
—
Testing the Linkage
To evaluate the functionality of the linkage, conduct a thorough test by shifting through all gears to ensure smooth operation and identify any potential issues.
- Troubleshooting Tips: Listen for any unusual noises or feel for resistance while shifting through the gears. Any unexpected sounds or difficulty in shifting may indicate a problem with the linkage that needs further inspection.
- Performance Evaluation: Ride the motorcycle at varying speeds to confirm that the linkage functions correctly under different riding conditions. Pay attention to how the gears engage and disengage to ensure smooth operation.
- Maintenance Recommendations: After testing the linkage, verify that the new shift linkage is securely attached and functioning properly. Regularly inspect and maintain the linkage to prevent any issues that may arise from wear and tear, ensuring the continued optimal performance of your Harley Davidson.
Conclusion
In conclusion, by following these steps to replace your Harley Davidson linkage, you'll transform your shifting experience from ordinary to extraordinary. Say goodbye to clunky shifts and hello to seamless gear changes.
With the right tools and a quality heim joint linkage, your Harley will feel like a whole new ride. So don't wait, upgrade your linkage today and feel the difference on the road.

