When it comes to testing a Harley Davidson coil, the process can seem intricate yet essential for diagnosing ignition issues.
You begin by carefully examining the spark plug wire and then move on to using a multimeter to assess the coil's resistance levels.
But what happens if the resistance falls outside the recommended range?
Well, understanding the next steps is crucial to ensuring your Harley's ignition system functions optimally.
Key Takeaways
- Use a multimeter to test primary and secondary circuits accurately.
- Check for resistance within specified ranges to assess coil health.
- Understanding coil wiring and proper resistance values is crucial.
- Deviations from ideal resistance values indicate potential coil issues.
Required Tools for Testing
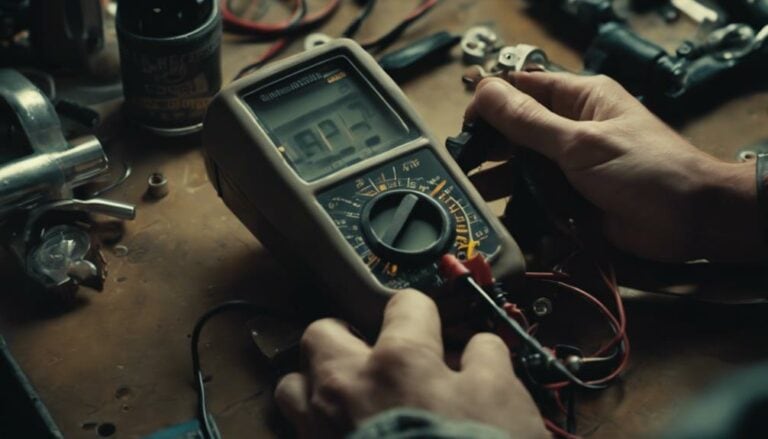
To properly test a Harley Davidson coil, you'll need a multimeter equipped with the capability to measure ohms. When conducting diagnostic procedures, ensure the multimeter is correctly set to the appropriate ohm settings for precise readings.
Using the multimeter, check the coil's resistance by placing the probes across the terminals. The resistance reading should ideally fall within the specified range of 3 to 5 ohms for a functioning coil.
Multimeter techniques play a vital role in troubleshooting Harley Davidson ignition issues. Through the diagnostic process, the multimeter helps in determining if the coil is within the acceptable resistance range. If the resistance deviates significantly from the specified values, it indicates a potential problem with the coil that requires further investigation.
Understanding coil resistance and mastering multimeter techniques are essential skills for effectively diagnosing and resolving ignition-related issues on your Harley Davidson motorcycle.
Locating the Harley Davidson Coil
Near the battery or under the seat in most models, you can find the Harley Davidson coil as a cylindrical or rectangular component with wires connected to it. The coil is crucial for the ignition system of your motorcycle, responsible for generating the high voltage needed to spark the spark plugs. Sometimes, the coil is integrated into the ignition system for enhanced performance and compactness.
To locate the Harley Davidson coil accurately in your specific model, refer to the service manual provided by the manufacturer. The coil wiring, which consists of primary and secondary wiring, is essential for transmitting electrical signals. Understanding the coil resistance is also crucial as it determines the effectiveness of the coil in generating the required spark.
Testing the Primary Circuit
Testing the primary circuit of a Harley Davidson coil involves measuring the resistance between the power lead and the trigger lead. The resistance across this circuit should typically be in the range of 3 to 5 ohms for a properly functioning coil. To accurately measure this resistance, use a multimeter set to the lowest ohm setting. If the resistance reading falls significantly below or above the specified range, it indicates a potential issue with the coil that may require further inspection.
Measuring resistance in the primary circuit is a fundamental troubleshooting technique that helps determine the health of the coil. An abnormal resistance reading can point towards underlying problems within the ignition system. By conducting this test, you can assess if the coil is operating within the expected parameters and identify any issues that may be affecting its performance. Remember, a thorough evaluation of the primary circuit is essential for diagnosing ignition system faults accurately and efficiently.
Testing the Secondary Circuit
Curiously, how can you assess the functionality of the secondary circuit in a Harley Davidson coil?
To test the secondary circuit, you need to focus on measuring the resistance of the spark plug wire. This step is crucial in troubleshooting issues related to the coil.
Using a multimeter set to 2,000 ohms, carefully measure the resistance of the spark plug wire. A properly functioning spark plug wire should exhibit a resistance above 10,000 ohms.
If the measured resistance falls below or significantly above this ideal range, it could indicate potential problems within the secondary circuit of the coil.
By accurately measuring resistance, you can pinpoint any irregularities in the spark plug wire, helping you identify and address issues affecting the secondary circuit's performance.
This method provides a precise way to evaluate the health of the secondary circuit in your Harley Davidson coil.
Interpreting the Test Results
To accurately assess the condition of the Harley Davidson coil, interpreting the test results is crucial for identifying any potential issues affecting its performance. Understanding resistance levels and applying troubleshooting methods will help you determine the health of the coil effectively:
- Check Resistance Levels: A good Harley Davidson coil should typically show a resistance between 3 and 5 ohms when tested with a multimeter.
- Assess Spark Plug Wire Resistance: High resistance readings above 10,000 ohms for the spark plug wire usually indicate a healthy coil.
- Look for Consistency: Inconsistent or abnormal ohm readings across the coil's terminals suggest a faulty Harley Davidson coil that may require replacement.
- Compare Results: It's essential to compare the obtained resistance values with the specified ranges to accurately diagnose the condition of the coil.
Properly interpreting the test results will enable you to make informed decisions regarding the maintenance or replacement of the Harley Davidson coil.
Conclusion
In conclusion, testing a Harley Davidson coil is crucial for ensuring optimal engine performance.
By using a multimeter to check the resistance in both the primary and secondary circuits, you can determine if the coil is faulty and needs to be replaced.
Just like a skilled mechanic diagnosing an engine issue, testing the coil is like uncovering the heart of the problem to keep your Harley running smoothly.

