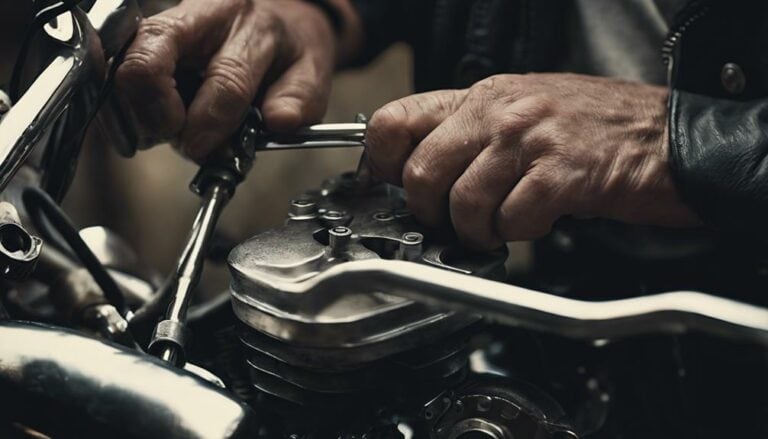
When it comes to maintaining your Harley Davidson, ensuring the primary fluid is fresh is crucial.
But have you ever wondered about the best way to handle this task efficiently and correctly?
The process involves a few key steps that might seem intimidating at first, but with the right guidance, you'll be equipped to tackle this maintenance job with confidence.
Let's explore the intricacies of changing the primary fluid on your Harley Davidson to keep your ride running smoothly.
Key Takeaways
- Use proper tools and torque specifications for removing, inspecting, and changing primary fluid.
- Monitor draining and inspect drained fluid for wear, contamination, or metal shavings.
- Check and replace O-rings to prevent leaks and maintain a secure seal.
- Refill with recommended fluid, maintaining proper levels for optimal performance.
Gathering Necessary Tools
To begin changing the primary fluid on your Harley-Davidson Street Glide, gather the necessary tools, including a 5/8 socket and T27 torx for removing the derby cover and drain plug. These tools are essential for efficiently accessing and draining the primary fluid. When you're ready to reassemble the components, remember to torque the drain plug to 14-21 foot-pounds to ensure a secure fit and prevent any leaks. Ensuring that the drain plug is torqued correctly is crucial for the proper functioning of your motorcycle's primary system.
Having the correct tools and following the specified torque specs is key to maintaining your Street Glide's primary system in optimal condition. Be meticulous in your approach, as precision during this process is vital for the longevity and performance of your motorcycle. By adhering to the recommended torque specs, you can ride with confidence knowing that your primary fluid has been changed correctly.
Draining the Primary Fluid
If you have successfully removed the derby cover using a T27 torx, the next step is to position a drain pan beneath the primary to catch the fluid during the draining process. Here are the steps to drain the primary fluid effectively:
- Torque the drain plug: Using the appropriate tool, carefully loosen the drain plug to allow the fluid to flow out smoothly.
- Monitor the draining process: Keep an eye on the fluid as it drains, ensuring it's flowing steadily and without any unusual odors or colors.
- Inspect the drained fluid: After draining, examine the fluid for any signs of excessive wear, contamination, or metal shavings that could indicate underlying issues.
- Check the drain plug: Inspect the magnet on the drain plug for any metal shavings, and verify the condition of the O-ring to prevent leaks upon reassembly.
Removing the Primary Cover
Position the 5/8 socket over the torx bolts securing the derby cover on the primary side of your Harley Davidson to prepare for removing the primary cover. Use a torque wrench to ensure proper bolt tightening after reassembly. Before proceeding, slide a drain pan underneath to catch the primary fluid when the cover is removed. Inspect the drained fluid for any debris or metal shavings that may indicate issues with the primary components. Check the magnet on the drain plug for any metal particles that could be a sign of internal wear or damage. Ensure the O-ring on the derby cover is not damaged before reinstallation to prevent leaks.
| Step | Action | Tool Required |
|---|---|---|
| 1 | Position 5/8 socket over torx bolts securing derby cover | Torque wrench |
| 2 | Slide drain pan under to catch draining primary fluid | – |
| 3 | Inspect drained fluid for debris or metal shavings | – |
| 4 | Check magnet on drain plug for metal particles | – |
Changing the Primary Fluid
Inspect the drained primary fluid for any contamination or signs of wear, ensuring the components are in optimal condition before proceeding with changing the primary fluid.
To successfully change the primary fluid on your Harley Davidson, follow these steps:
- Check for Contamination: Look closely at the drained fluid to identify any particles, debris, or unusual discoloration that might indicate internal issues.
- Inspect for Wear: Examine the consistency and color of the fluid to detect any abnormal wear patterns or metal shavings, which could signal mechanical problems.
- Replace Damaged O-ring: If the O-ring appears worn or damaged, replace it with a new one to prevent leaks and maintain a proper seal.
- Torque the Drain Plug: Utilize a torque wrench to securely fasten the drain plug back into place, ensuring it's tightened to the manufacturer's specified torque rating for a leak-free seal.
Refilling and Checking Fluid Levels
Refill the primary fluid on your Harley-Davidson Street Glide with 38 ounces, ensuring the level falls between the MIN and MAX markings on the dipstick.
Start by removing the dipstick, then use a funnel to add one quart (32 ounces) of primary fluid, followed by an additional 6 ounces for accurate filling. Use the correct type of primary fluid as recommended by Harley-Davidson to maintain optimal performance.
After refilling, carefully insert the dipstick back into the primary case but don't fully tighten it. Run the engine for a few minutes to allow the fluid to circulate properly.
Once done, stop the engine, wait for a few moments, then check the fluid level again. Adjust as necessary to ensure it falls within the acceptable range.
Use a torque wrench to securely tighten the dipstick to prevent any leaks. Finally, inspect the area for any signs of leakage to confirm proper sealing.
Conclusion
In conclusion, changing the primary fluid on your Harley Davidson is a straightforward process that can be easily accomplished with the right tools and a bit of know-how.
By following the steps outlined in this guide, you can ensure that your bike is running smoothly and efficiently.
So, grab your tools and get ready to tackle this maintenance task with confidence!

