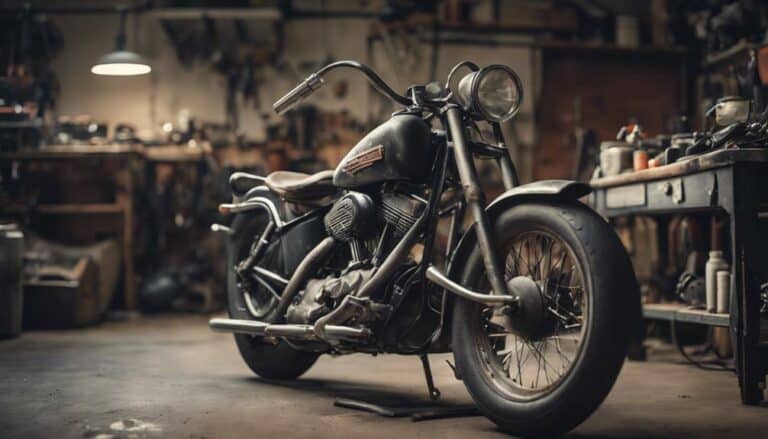
Have you ever wondered if restoring your Harley Davidson could be a rewarding project worth your time and effort?
The process of bringing a vintage Harley back to its former glory is not just about mechanical skills but also about patience and attention to detail.
As you embark on this journey, you will discover the satisfaction of reviving a classic machine, but there's one crucial aspect that can make or break your restoration project, and it involves…
Key Takeaways
- Conduct a meticulous pre-restoration inspection to assess all components thoroughly.
- Employ specialized tools for cleaning, rust removal, and precise reassembly.
- Document each step of disassembly and restoration for organized execution.
- Ensure optimal performance and a professional finish through focused reassembly and testing.
Tools Needed for Restoration
To begin restoring your Harley Davidson, you must ensure you have the necessary specialized tools for the restoration process. Rust removal tools like wire brushes and rust converters are crucial for dealing with corrosion on old components, ensuring your bike's original and authentic look is restored.
Paint stripping tools are essential for refinishing the bike, allowing you to bring back its original appearance. Diagnostic tools play a vital role in tuning the engine and troubleshooting any issues that may arise during the restoration, ensuring your Harley runs smoothly once restored.
Additionally, basic hand tools such as wrenches and screwdrivers are indispensable for the disassembly and reassembly of the motorcycle, making the restoration process more manageable and efficient. By having these tools at your disposal, you equip yourself to embark on a successful journey to restore your Harley-Davidson to its former glory.
Pre-Restoration Inspection Steps
Prior to commencing the restoration process, a meticulous visual inspection of all motorcycle components is essential to assess the extent of wear and damage. Check the frame, engine, electrical components, and bodywork for any signs of deterioration such as rust, corrosion, or damage. Inspect critical parts like the engine block, exhaust system, and wiring for wear that could affect performance. Evaluate the fuel system for leaks, blockages, or degraded hoses that require replacement before restoration begins. Assess the condition of the tires, brakes, suspension, and steering components to identify safety hazards or areas needing repair. Document all findings with detailed notes and photographs to create a comprehensive restoration plan and track progress effectively.
| Components to Inspect | Signs of Wear/Damage | Actions Required |
|---|---|---|
| Frame | Rust, Cracks | Repair/Replace |
| Engine | Corrosion, Leaks | Maintenance |
| Electrical Components | Wiring Damage | Rewiring |
Disassembly Process Guide
Inspect the Harley Davidson motorcycle thoroughly, identifying each component for dismantling as you prepare to embark on the disassembly process. Begin by removing the seat, tank, and side covers, then proceed to disconnect the battery and drain fluids carefully. Loosen bolts and screws securing various parts like the exhaust, handlebars, and wheels, ensuring they're safely stored for reassembly. Remember to document each step of the disassembly process with detailed notes and photographs for future reference.
As you disassemble the motorcycle, organize parts systematically, labeling them to avoid confusion during restoration. Inspect each component for damage or wear, which will guide you in determining the necessary repairs or replacements.
Following a methodical approach and having a clear restoration plan in place will ensure an efficient disassembly process, laying a solid foundation for a successful restoration project. By documenting each step meticulously, you empower yourself with the knowledge needed to reassemble the Harley Davidson correctly and achieve a thorough restoration.
Cleaning and Restoration Techniques
Wondering how to effectively clean and restore your Harley Davidson to its former glory? To ensure a successful restoration, follow these techniques:
- Rust Removal: Use rust removal tools such as wire brushes and rust converters to effectively clean metal parts and prevent corrosion.
- Paint Stripping: Employ paint stripping tools to prepare surfaces for refinishing, achieving a professional look that enhances the overall aesthetic appeal.
- Diagnostic Tools: Utilize diagnostic tools for engine tuning and troubleshooting to guarantee optimal performance, ensuring your Harley runs smoothly.
- Specialized Tools: Invest in specialized tools designed specifically for Harley-Davidson motorcycles; these tools are essential for completing specific tasks efficiently during the restoration process.
When restoring your Harley Davidson, remember the legacy of Bruce Palmer III and the innovation of the electric start, ensuring your bike not only looks great but also performs exceptionally.
Reassembly and Final Touches
For a successful restoration of your Harley-Davidson motorcycle, the reassembly process is crucial to ensure all components are carefully put back together for optimal performance and appearance. As you guide through the reassembly, pay close attention to aligning and fitting each part precisely to guarantee proper functioning. Lubricate all moving parts and connections to prevent friction and ensure smooth operation. Once the reassembly is complete, conduct a thorough inspection to address any potential issues before finalizing the restoration. Additionally, final touches such as detailing the bike will provide a polished and professional finish.
| Reassembly Tips | Final Touches | Post-Assembly Inspection | Lubrication |
|---|---|---|---|
| Ensure precise fit | Detail the motorcycle | Check for loose parts | Lubricate moving components |
| Align components | Polish chrome parts | Test functionality | Apply grease where necessary |
| Double-check bolts | Wax painted surfaces | Inspect for leaks | Use motorcycle-specific oil |
| Verify electrical connections | Clean and shine wheels | Test ride the bike | Grease cables and chains |
Conclusion
You've put in the hard work, dedication, and attention to detail needed to restore your Harley-Davidson motorcycle to its former glory.
Now, as you step back and admire the finished result, you can't help but smile knowing that all your efforts have paid off.
Your restored bike isn't just a machine, but a masterpiece that reflects your passion for the open road and the iconic Harley-Davidson brand.
Enjoy the ride ahead with pride and satisfaction.

