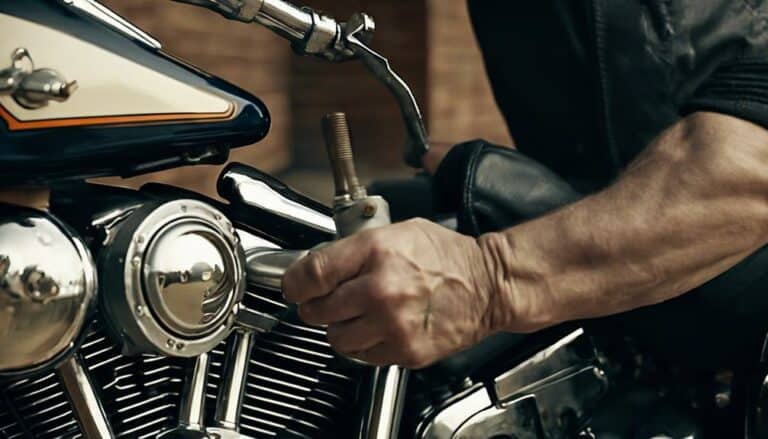
If you've ever wondered how to remove the gas tank on a Harley Davidson Softail, the process may seem daunting at first. However, with the right tools, knowledge, and attention to detail, it can be a manageable task.
Understanding the steps involved in disconnecting the fuel line, draining the tank, and safely removing it is crucial.
Stay tuned to discover some valuable tips and insights that will help you successfully navigate this procedure.
Key Takeaways
- Use proper tools and safety precautions like towels and wood for secure gas tank removal.
- Drain fuel cautiously, considering shut-off options to prevent spills.
- Disconnect all electrical components carefully before lifting the tank.
- Reinstall the tank ensuring proper electrical connections, hose placements, and bolt tightening for functionality.
Tools Required for Gas Tank Removal
To begin the process of removing the gas tank on your Harley Davidson Softail, gather essential tools including a flathead screwdriver, towels for containing fuel spillage, and a piece of wood to support the tank securely. The flathead screwdriver will aid in loosening screws and fastenings holding the tank in place.
The towels are crucial for absorbing any fuel that may spill during the removal process, preventing accidents and keeping your workspace clean. The piece of wood is necessary to prop up the tank once it's disconnected, ensuring it stays stable and doesn't get damaged.
Having these tools at hand will make the task of removing the gas tank from your Harley Davidson Softail much smoother and efficient. Remember, using the right tools not only makes the job easier but also helps prevent any potential damage to your bike. So, gather your tools, prepare your workspace, and get ready to liberate your Harley Davidson from its gas tank for maintenance or customization.
Draining the Fuel From the Tank
Before commencing the removal process, ensure that the fuel from the tank of your Harley Davidson Softail is completely drained. To accomplish this liberating task, consider the following:
- When dealing with Softail models that lack a petcock valve for fuel draining, use a screw to temporarily block one end of the fuel hose to prevent spillage.
- For more controlled draining, think about employing a T-shaped barb connector equipped with a shut-off valve.
- Remember to take precautions to avoid any accidental spills by handling the fuel hose carefully and ensuring proper sealing techniques are in place.
- In the event of any fuel spillage, promptly and thoroughly clean up the area using absorbent materials like towels to prevent any safety hazards or environmental damage.
Disconnecting Electrical Components
After draining the fuel from the tank of your Harley Davidson Softail, the next step is disconnecting the electrical components attached to the tank. Prioritize safety precautions by ensuring the bike is turned off and there are no ignition sources nearby.
Start by releasing the wire connected to the tank by carefully disconnecting the electrical connection. Use proper technique to avoid damaging the continuous vent lines when prying them off during disconnection. Double-check that the drain hose is properly disconnected to prevent any leaks or spills when removing the tank.
Common mistakes include rushing the disconnection process, which can lead to accidental damage to the electrical components or the vent lines. Make sure to disconnect any lighting components that may be attached to the tank to facilitate its removal smoothly.
Before lifting the tank off the bike, ensure all electrical connections are disconnected and secure. Following these steps will help you safely disconnect the electrical components from your Harley Davidson Softail gas tank.
Removing the Gas Tank
Loosen the fasteners securing the gas tank in place using a flathead screwdriver. When removing the gas tank on your Harley Davidson Softail, it's crucial to follow some precautions to ensure a smooth process:
- Disconnect all electrical components: Before attempting to remove the tank, disconnect the electrical system to prevent any accidents.
- Turn off the fuel line shut-off valve: This step is essential to avoid any fuel leakage during the removal process.
- Lift the tank with support: Place a piece of wood underneath the tank to provide support and prevent any damage to the tank or bike.
- Be prepared for fuel spillage: When disconnecting the tank, expect some fuel spillage, so have a container ready to catch any leaks.
Following these tank removal steps will help you avoid common mistakes like forgetting to disconnect all connections properly, ensuring a safe and successful tank removal process.
Tips for Reinstalling the Tank
When reinstalling the gas tank on your Harley Davidson Softail, ensure all electrical connectors are properly reconnected before securing the tank back in place. Double-check the placement of the fuel line and vent hoses to prevent any leaks or blockages. Utilize a piece of wood to support the tank, aiding in aligning it correctly and fastening it back onto the bike. This support technique helps maintain proper tank alignment during the reinstallation process.
When tightening the bolts, make sure to do so securely but avoid over-tightening to prevent damage to the tank or frame. Over-tightening can lead to issues with the tank's stability and may cause future complications. Once all bolts are securely tightened, test the functionality of the fuel system and electrical components to ensure everything is in working order. Proper bolt tightening is crucial for the overall integrity of the tank and the safety of your ride.
Conclusion
In conclusion, removing the gas tank on a Harley Davidson Softail requires careful preparation and attention to detail. By following the steps outlined, you can successfully complete the task and gain a better understanding of your bike's fuel system.
For example, John, a Harley enthusiast, followed these steps and successfully removed his gas tank, allowing him to perform maintenance and upgrades with ease.
Remember to always prioritize safety and consult with others in the community for additional guidance.

