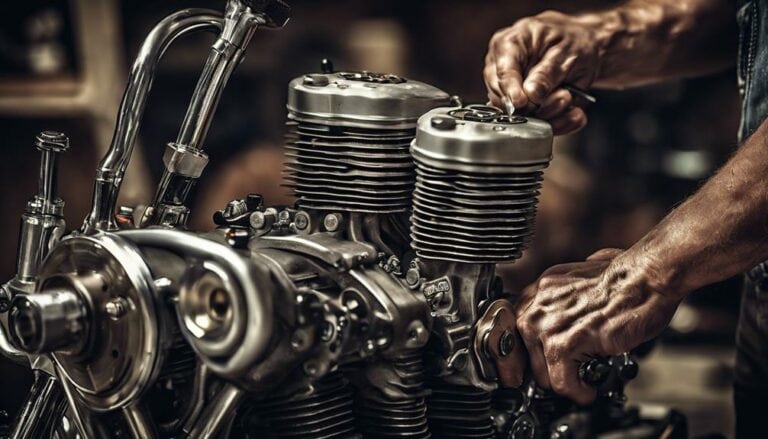
Are you experiencing performance issues with your Harley Davidson Twin Cam that could be linked to valve adjustments?
Understanding the intricacies of the valve system in your engine is crucial for optimal performance.
Knowing how to adjust the valves on your Twin Cam can make a significant difference in how your motorcycle runs.
Stay tuned to discover the step-by-step process and essential tips for effectively adjusting the valves to enhance the performance of your beloved Harley.
Key Takeaways
- Proper preparation at TDC ensures accurate valve adjustment.
- Correctly adjusted intake valves enhance engine performance.
- Precise exhaust valve adjustment crucial for efficient exhaust flow.
- Final checks ensure smooth operation and correct valve alignment.
Tools Required for Valve Adjustment
To adjust the valves on your Harley Davidson Twin Cam, you'll need a torque wrench, feeler gauges, and a 5/8 inch spark plug socket, along with a specialty tool like a pushrod adjustment wrench with specific features for this task.
The torque wrench is a critical tool for this process as it ensures that the locknuts are tightened to the specified torque after adjusting the pushrods on the Twin Cam engine, preventing under or over-tightening which could lead to valve issues.
Feeler gauges play a crucial role in measuring the gap between the top of the valve stem and the rocker arm during the adjustment process, allowing you to achieve the precise clearance needed for optimal performance.
Additionally, the 5/8 inch spark plug socket is necessary to remove the spark plugs before adjusting the valves, preventing any accidental engine starts while you work on the valve train.
These tools are essential for a successful valve adjustment on your Harley Davidson Twin Cam.
Preparation Steps Before Adjustment
If the spark plugs have been removed, proceed to ensure the engine is positioned at top dead center (TDC) on the compression stroke to begin adjusting the front cylinder's valves. This step is crucial to accurately adjust the valves and maintain engine performance.
With the front cylinder at TDC, you can now move on to preparing for the adjustment. Turn the engine over 360 degrees to bring the rear cylinder to TDC compression stroke for valve adjustment later.
Using a feeler gauge, measure the gap between the rocker arm and valve stem when adjusting the valves. It's essential to follow the manufacturer's specifications for valve lash clearance to guarantee proper valve operation.
Adjusting Intake Valves
When adjusting the intake valves on your Harley Davidson Twin Cam, begin by loosening the lock nut on the intake push rod and adjusting the push rod until zero lash is felt. This step ensures that the valve is fully closed before making further adjustments.
Next, use a feeler gauge to set the proper gap between the rocker arm and the valve stem. This gap is crucial for proper valve operation and engine performance. Once the gap is set, tighten the lock nut while holding the push rod in place to secure the adjustment.
After adjusting the intake valve, rotate the engine to check for smooth operation and proper valve clearance. Listen for any unusual sounds or feel for any resistance, indicating a potential issue with the adjustment. If everything sounds and feels right, you can move on to the next intake valve and repeat the process.
Ensuring all intake valves are correctly adjusted will help your engine run smoothly and efficiently. Remember, proper valve adjustments will make your Harley Davidson Twin Cam run better and may save you from having to come back for further adjustments.
Adjusting Exhaust Valves
After adjusting the intake valves on your Harley Davidson Twin Cam, the next crucial step is to focus on adjusting the exhaust valves. Identifying the exhaust valve is simple; it is usually positioned rearward on the cylinder head, relative to the spark plug. To ensure optimal performance, make sure to use a feeler gauge to measure the gap between the exhaust valve and rocker arm when the push rod is at zero lash. Adjust the exhaust valve gap by turning the push rod adjuster clockwise to tighten or counterclockwise to loosen. Proper adjustment is essential for efficient exhaust flow and to prevent valve damage or noise. To maintain your engine's performance, repeat this process for each exhaust valve. Check out the table below for a quick reference guide:
| Step | Action |
|---|---|
| 1 | Identify exhaust valve position |
| 2 | Measure gap with feeler gauge |
| 3 | Adjust gap by turning adjuster |
| 4 | Repeat for each exhaust valve |
Final Checks and Testing
Perform a final check by carefully rotating the engine by hand to ensure smooth operation and accurate valve adjustment. When rotating the twin cam engine, listen for any unusual noises or binding, as these could indicate a potential issue with the valve adjustment.
After the manual rotation, start the engine and pay close attention to any abnormal valve train noises that might suggest the need for further adjustment. Keep an ear out for poor performance or misfiring, as these symptoms could signal incorrect valve adjustment.
Additionally, visually inspect the push rods and rocker arms to guarantee proper alignment and operation post-valve adjustment. Any misalignment or irregularities should be addressed promptly to maintain the optimal functioning of your Harley Davidson twin cam engine.
Conclusion
Now that you have successfully adjusted the valves on your Harley Davidson Twin Cam, are you ready to feel the improved performance and smooth operation of your engine?
By following the detailed steps outlined in this guide and using the proper tools, you can ensure your valve train is functioning at its best.
So go ahead, start up your bike and enjoy the ride with confidence in your valve adjustment skills.

